I know there are several recipes out there for apple crisps, or apple chips, or whatever you want to call them. But being somewhat of a scientist, or at least pretending to be one as a hobby, I had several questions, beyond what is the best apple to use.
- Which is the best method to crisp the chip: Oven or Dehydrator?
- What is the optimum thickness, that balance between crisp and maintaining form?
- How do I slice the apple to maximize flavor, reduce waste, and make the chip aesthetically pleasing?
So of course, I decided to try and answer these questions and come up with a perfect crisp apple chips method and basic recipe.
Yeah, I’m throwing it down. All the professional recipe sites, blogs and publishers out there, watch out. It’s on like Donkey Kong. If nothing else, my house is about to smell amazing.
Defining the experiment
I have to limit the number of variables I have to be able to answer the questions effectively. Otherwise, I won’t end up with perfect crisp apple chips – they will just be average and like every other site out there. Boo.
So to start, I am going to use the same apple type – Empire. It is slightly sweet, firm and red skinned. You can find them at the store in a bag labeled “Empire”. Perhaps there is a theme going here with the recurring mention of Empire on this blog?
As a side note, I originally tried to slice the apples by hand. While it did improve my knife skills, it was a bad idea. And horrible for an experiment since they weren’t all a uniform cut. I now use a mandoline which I can set the thickness and get (sort of) uniform thickness.
Ideal cooking method for perfect crisp apple chips
I am going to be testing two cooking methods first – oven and dehydrator. I will start with the same thickness – about 2.5mm.
My dehydrator is a simple one that does not have a temperature setting. So, to measure the temperature I used a non-contact Infrared digital thermometer.
I want to know the following:
- Which method is faster?
- Which method produces a better tasting chip?
- Which method produces a uniform crispness?
Based on the temperature, I can assume the oven will be faster, since it is a higher temperature.
Results of the cooking method test
After 1 hour I checked both the oven batch and dehydrator. Neither were done.
After 1.5 hr the oven batch was done. I removed from the sheet only to discover that they had completely stuck to the baking sheet. Should have used parchment paper. They actually tasted a little burned, even though they were obviously not. This was disappointing, but could either be due to the temperature or the fact they stuck to the sheet.
The dehydrated batch was not 100% ready, but relatively close. Compared to the oven, they had a much softer crunch, airier, and lighter tasting. The oven batch was a much more aggressive crunch and more intense taste. They also had a burned taste at times.
Over 2 hr later the dehydrator batch was completed.
| Cooking Method | Time | Thickness | Slice Method |
|---|---|---|---|
| Oven @ 225F | 1.5 hr | ~3mm | Side |
| Dehydrator @ 155F | 2 hr 45 min | ~3mm | Side |
Conclusion of the cooking method test
It might come down to preference. I prefer a lighter chip, yes, but one with an undeniable crunch. Perhaps if I had a dehydrator that can co to a higher temperature I might repeat the test at the same temperature. Before coming to a conclusion, I tried setting the oven to 200F and using parchment paper to see if that helps.
The result? Definitely did much better, though it did take a little longer as expected. The chip was crispy without the burnt taste, and had a hearty crunch. So oven @ 200F, for between 1 hr 30 min and 1 hr 40 min. Let the chips cool for about 2-3 minutes.
There is an advantage to the dehydrator method that I need to mention. It is very difficult to burn the apple chips in a dehydrator. I left chips in there for almost 24 hours and they came out okay, as if there were in there for only 3 or 4. On the other hand, you have to keep an eye on the over and definitely set a timer. So if you are looking to set it and forget it, maybe overnight or while you are at work or school during the day, then put the dehydrator to work for you.
What is the best thickness for perfect crisp apple chips?
Now that we have selected a cooking method (sort of), let’s move to the next experiment – what is the best thickness?
Note that the slice method is the same.
| Thickness | Time | Slice Method | Crunch Test | Durability |
|---|---|---|---|---|
| ~2mm | 1 hr 15 min | Side | OK | Poor |
| ~3mm | 1 hr 40 min | Side | Excellent | Good |
| ~4mm | 2 hr | Side | Good | Very Good |
| ~5mm | 2 hr 15 min | Side | Good | Excellent |
Testing of the chip characteristics
Crunch is subjective, in that some people like really crunchy chips and others prefer a little softer bite. I might be making that up, because I don’t know anyone who bites into a chip wanting a “soft” crunch. You really want that crisp crunching sound.
The results show that the thinnest chip has little crunch, but interestingly as you get thicker the crunch isn’t as pronounced as with the 3mm chip. My guess is as the apple gets thicker, it is more difficult to dry the inner parts, since the exterior is already dried. At the very least it would take hours to finish drying the chip by which time the outside will probably be burned (or at least taste burned).
For durability, there were three tests. During the crunch test, did it shatter? Second, could it withstand a drop? Third, if I put the chips into a container or bag, sealed and bounced it around, would they all shatter?
All performed ok during the crunch test portion, though the 2mm did shatter occasionally. All of them withstood a drop well. Again, the 2mm did occasionally break. The storage test is really what defeated the 2mm chip. It cracked with little force and was just too brittle. Also, crunching and eating it was almost like swallowing air.
Conclusion of the thickness experiment
The sweet spot is between 3 and 4 mm. There you get the perfect balance of hearty and satisfying crunch, and the durability to withstand a bite and a little tumble against other chips in a container.
What is the best method to slice for perfect apple chips?
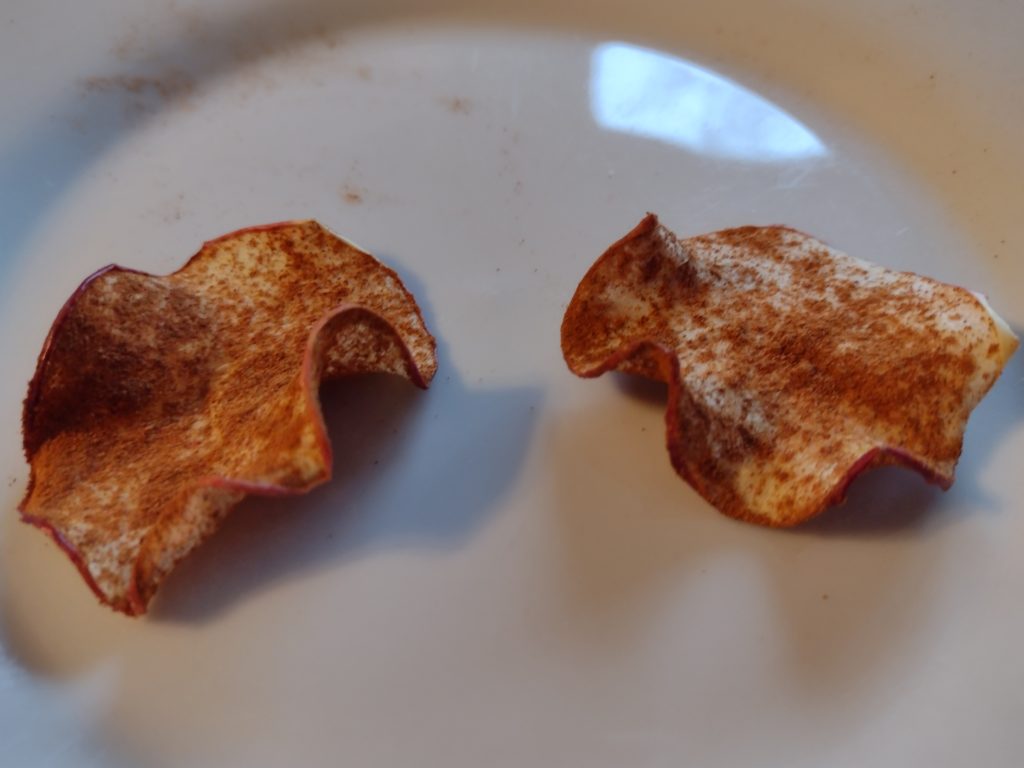
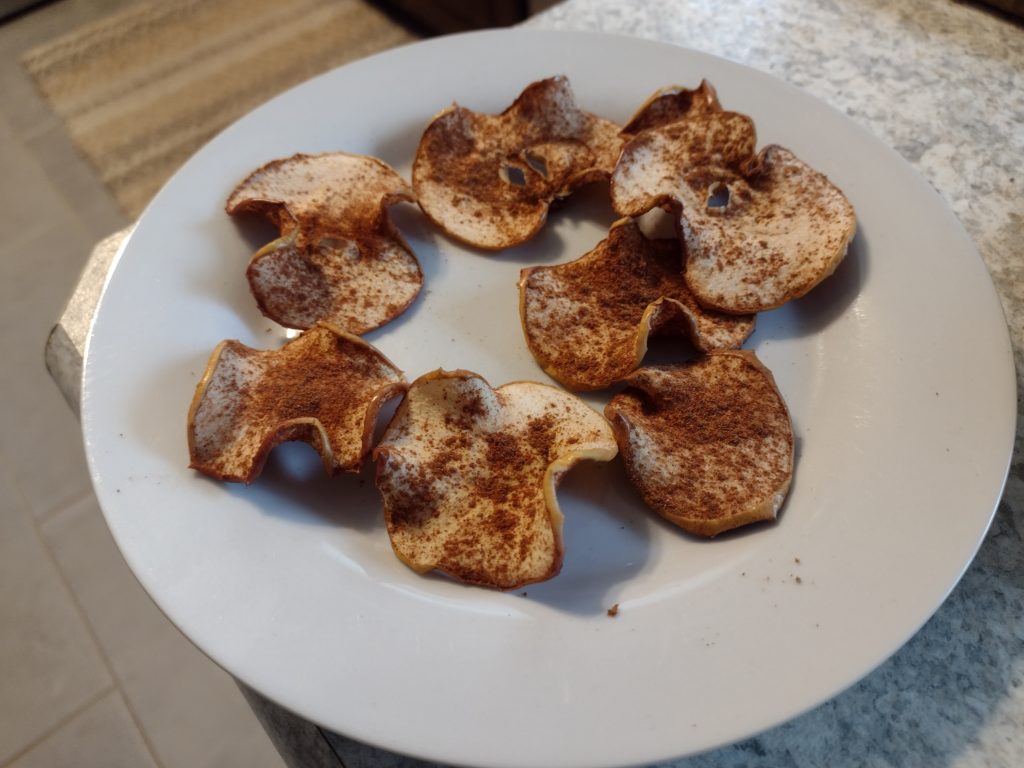
We come to our final test. So far we have been slicing sideways and avoiding the core and thus avoiding the apple seeds. However, this leaves us with some leftover parts of the apple – the width of the apple on each side of the core.
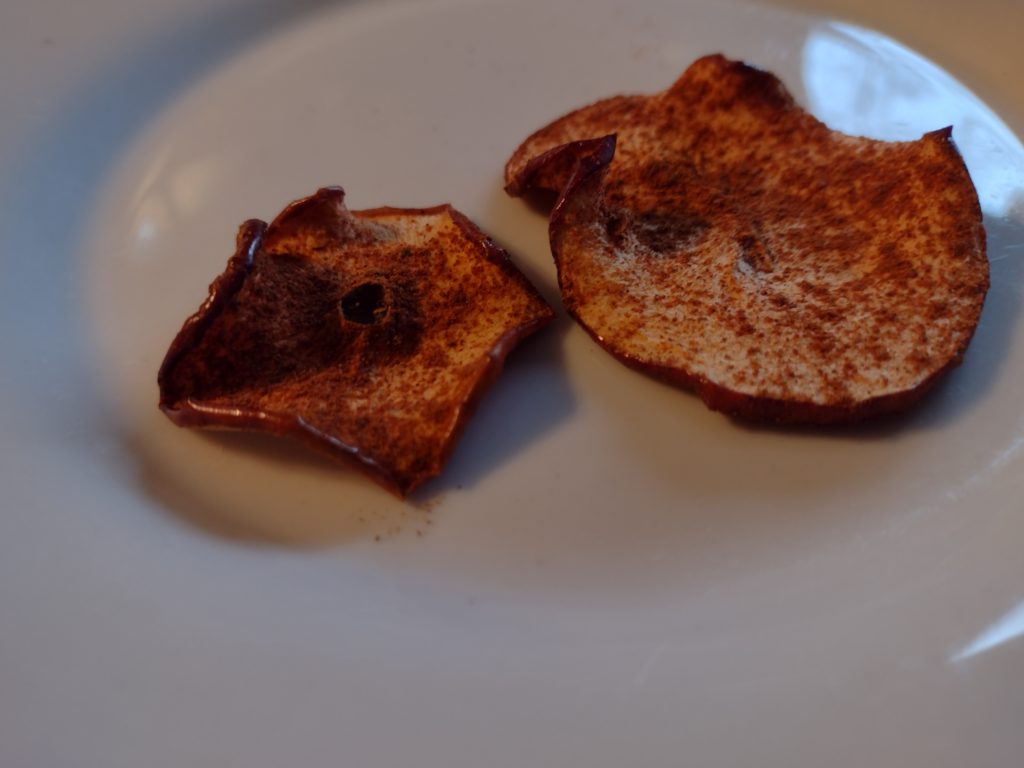
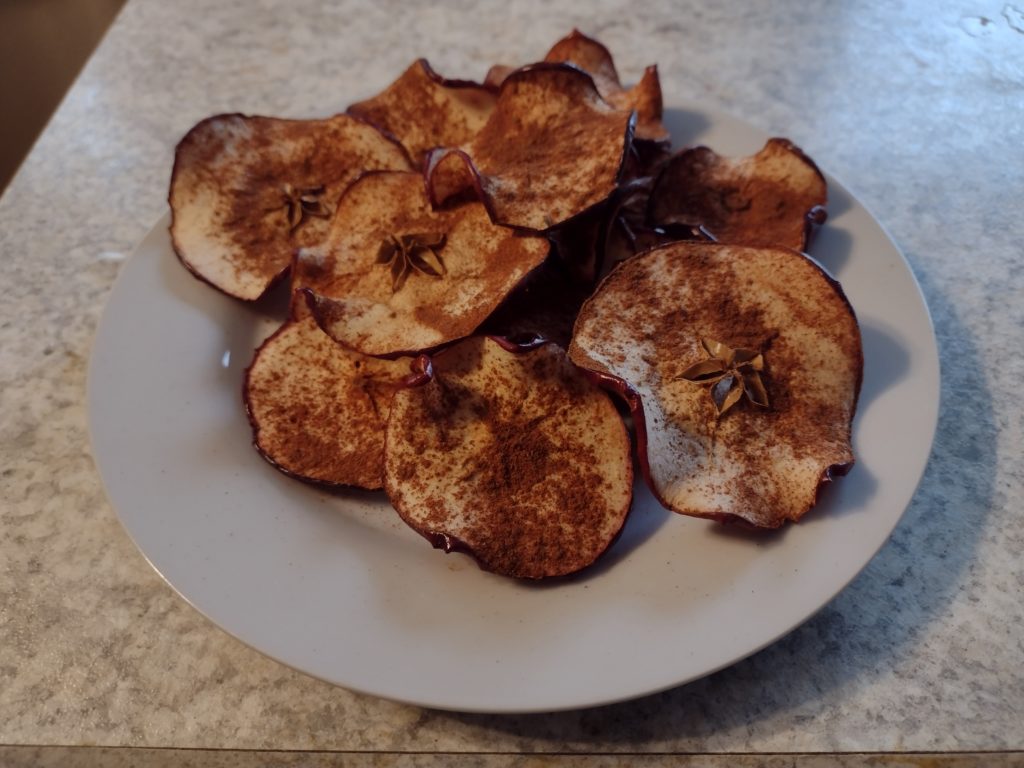
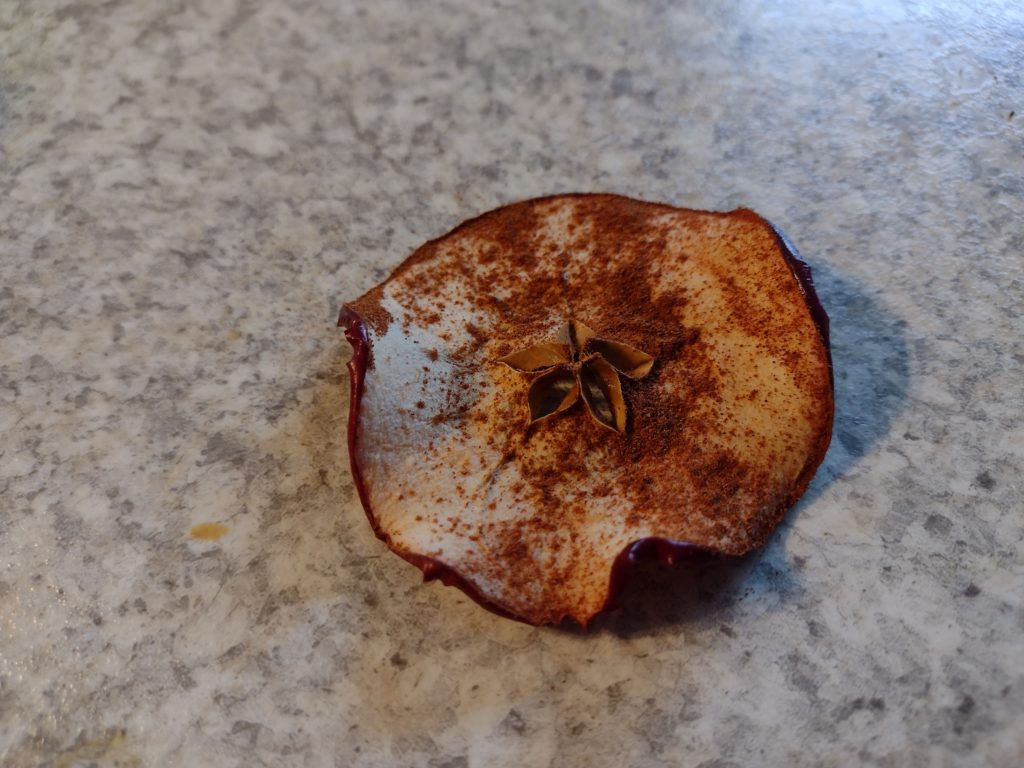
So we will try to cut another way – horizontally, so we will slice through the core and include it on our chip.
In this test we will pay attention to overall appearance.
Results of the apple slicing test
The test is somewhat subjective, but the findings are presented below.
| Cut Method | Time | Appearance Pros | Appearance Cons |
|---|---|---|---|
| Side | 1 hr 30 min | Curled, resembles kettle cooked chip. As you get closer to the core, the chips are less curly. Less uniform in terms of shape and size. Consistent Texture. | Wastes part of apple, unless you slice more “strip” chips |
| Horizontal | 2 hr 5 min | More circular, even slices. Kind of a visually appealing star design near the core. | Have to manually remove seeds, Chips are more uniformly round. Sharp appearing edges around core and inconsistent texture |
The cooking time increase was unexpected. But the center consistency was definitely not the same when cutting horizontal. Additionally, when cut through the center, the areas around the pits rose and were a different texture than the rest of the chip. It wasn’t too hard to remove the seeds when slicing, though a minor inconvenience for sure. But the perfect crisp apple chips to me should have the consistent crispy and crunchy texture.
You could first core the apple then recut, which will leave you with half chips using the side method, or a near constant hole using the horizontal one. From an appearance perspective, if you core the apple then use the side cutting method. But coring the apple would give a better consistency experience when horizontally slicing.
Conclusion of the slicing experiment
This one is probably preferential more than anything, but I prefer the uneven and curled look of the chips. The star design looks cool, but the texture difference as well as the slightly sharper (literally) areas near the core are a bit of a deal breaker for me. I prefer the stable consistency in the texture of the side sliced. I guess it reminds me of potato chips?
Overall findings and the basic recipe
Like I thought, this recipe made my house smell amazing for most of the day. So that in itself is a win. As far as what I’ve found:
- The chips can be baked in either a dehydrator or oven
- Use an oven unless you can control the temperature of the dehydrator to about 200F
- Slice the apples between 3-4mm in thickness
- Slice as you see fit based on the
- Bake on parchment paper between 1 hr 30 min and 1 hr 40 min (or up to 2 hr 5 min if you slice horizontal across the core).
- Let them sit and cool 2-3 min. Store in airtight container or resealable bag.
Perfect crisp apple chips are a great snack alternative to baked or fried chips. They are loaded with health benefits along with satisfying the need for a crunchy snack.