How to Build a Real 100% working Laser Gun from a Nintendo Zapper, Part 2
Step 3: Saving and recreating the Nintendo Zapper Trigger Mechanism
DISCLAIMER: This is a dangerous project intended for mature audiences and for informational purposes only. Intentional misuse can result in bodily harm or injury to yourself or others, including animals. The author of this post and this site assumes no liability for your actions.
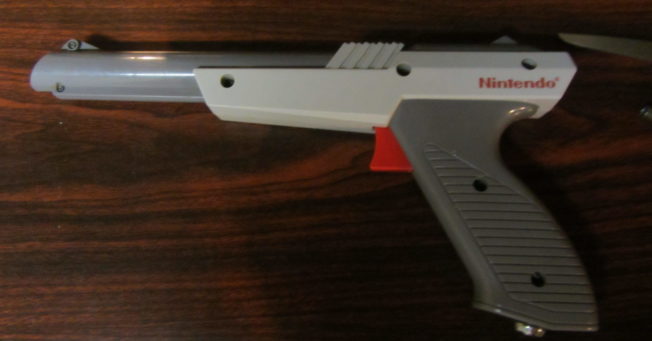
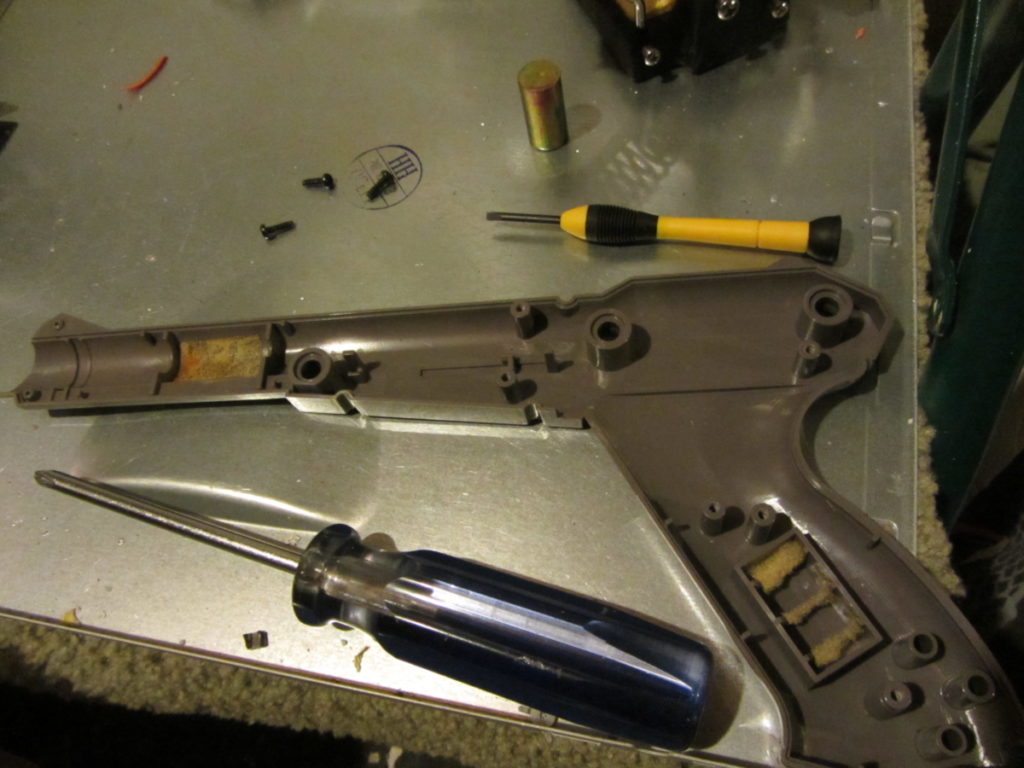
When we left off, we were in the middle of disassembling our Nintendo Zapper. We removed the screws and got our workstation prepared for the creation of the weapon of mass destruction we are building (a Nintendo Zapper Laser Gun baby!)
Next, carefully remove the small screws that protect the trigger.
In a stroke of awesome foresight, the factory trigger is perfect for our laser. It will more than handle our power load AND gives us dual modes of operation – pulse and continuous use.
If you press the trigger about halfway, the switch remains closed – meaning we can get a steady stream of laser awesomeness.
If you press the trigger all the way, it shoots a single shot. A short laser burst.
So cool.
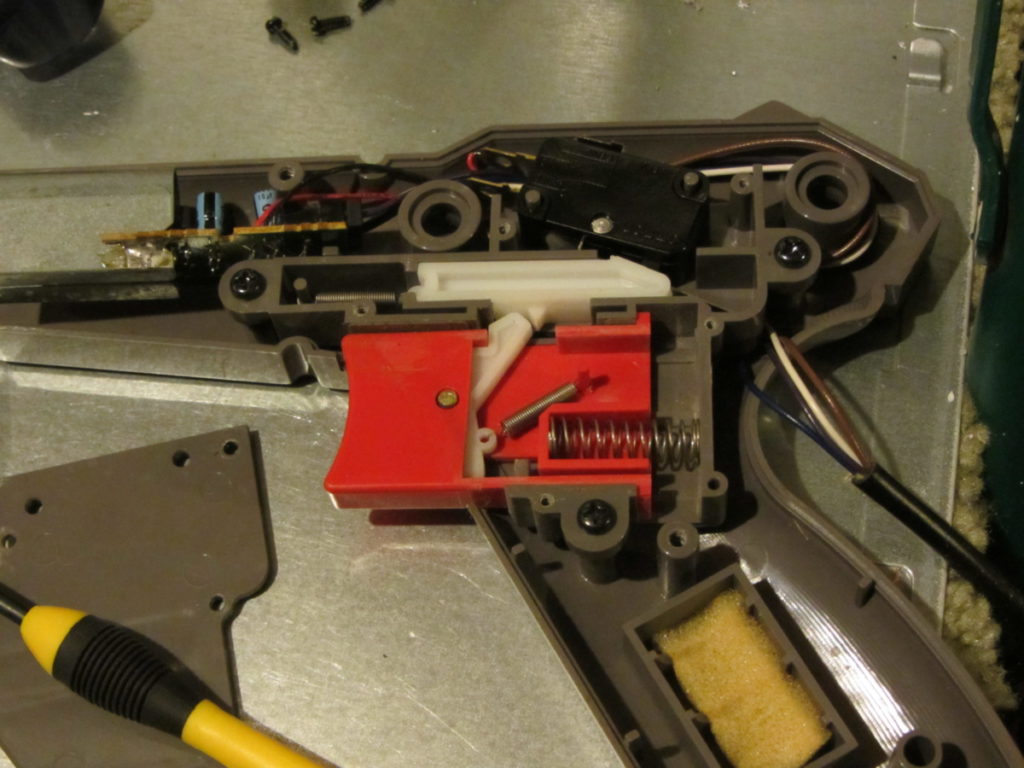
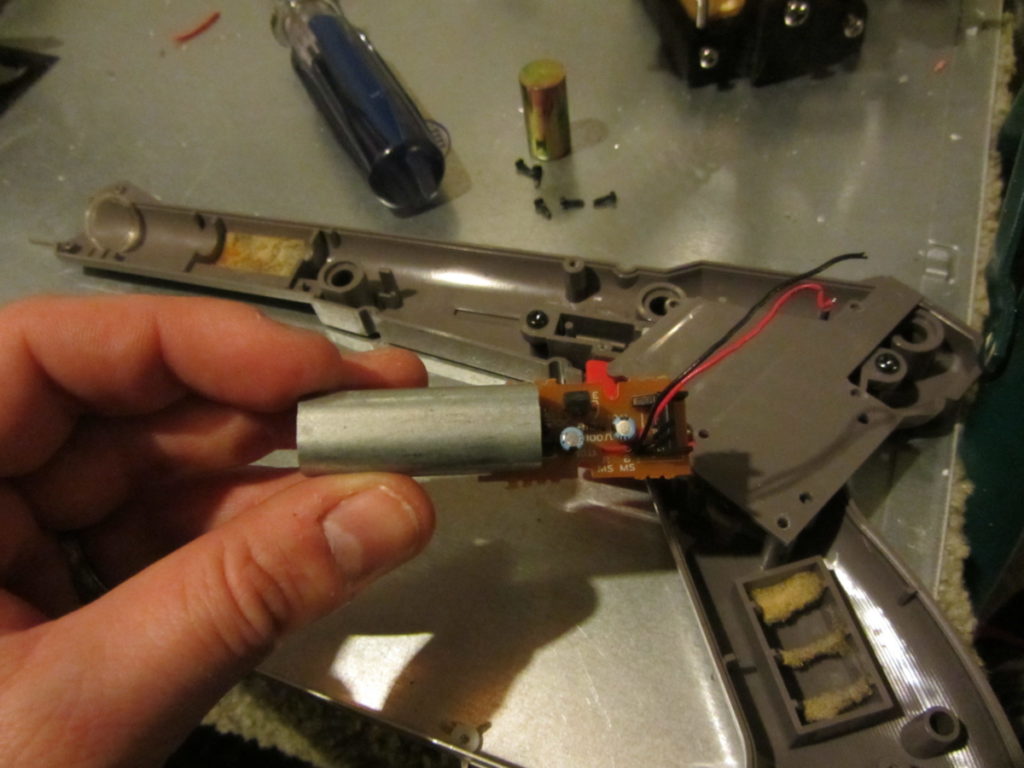
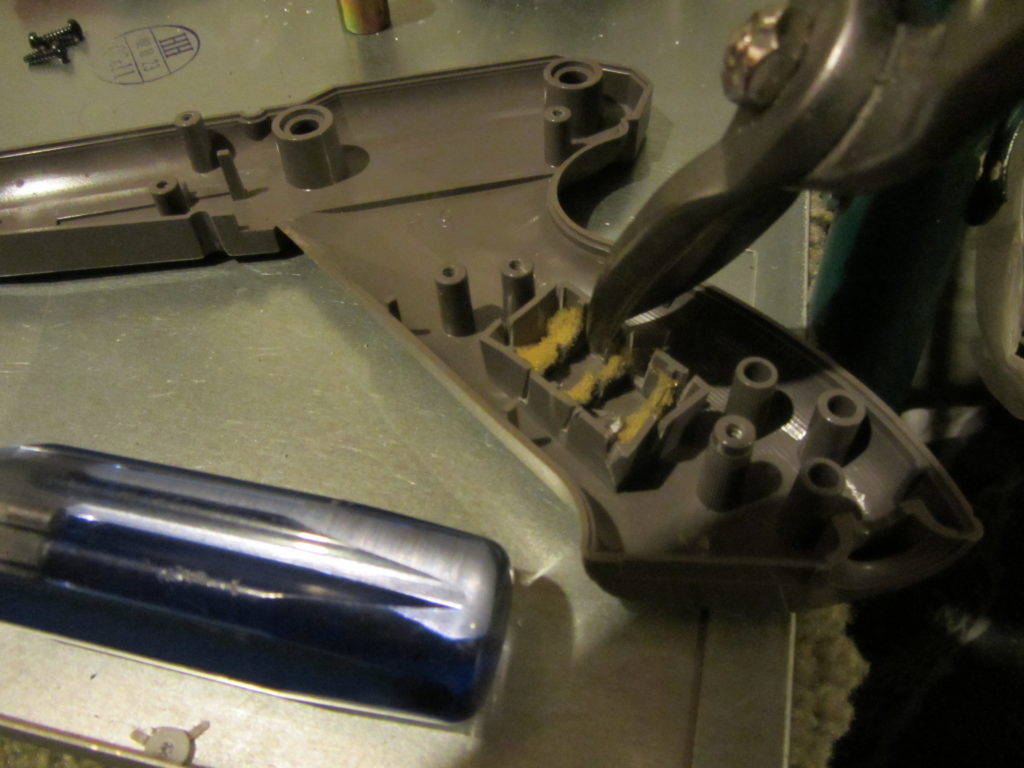
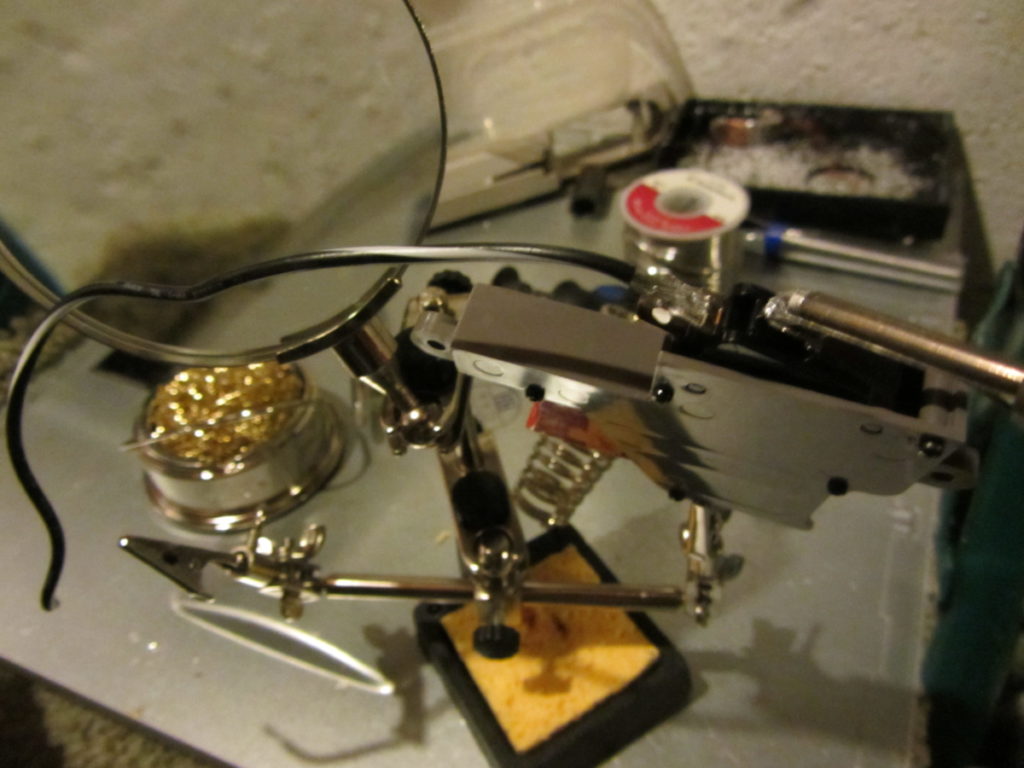
Next, remove the electronics from the PC Board attached to the switch.
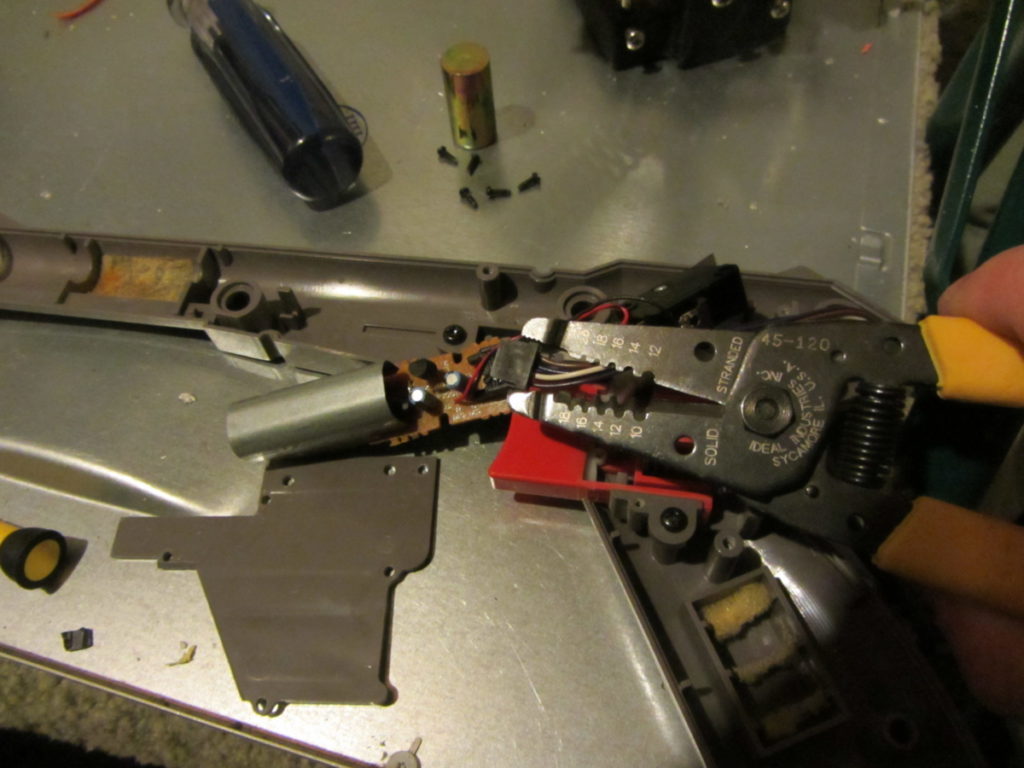
Fire up your desoldering iron, or soldering iron if you don’t have one. Wait for a few minutes for the iron to warm up.
Take this time to think about how awesome this is going to be.
Carefully desolder the connections from the switch.
Remove the PC Board with the light zapper. Set it aside and save either for your next project, or electronics recycling event.
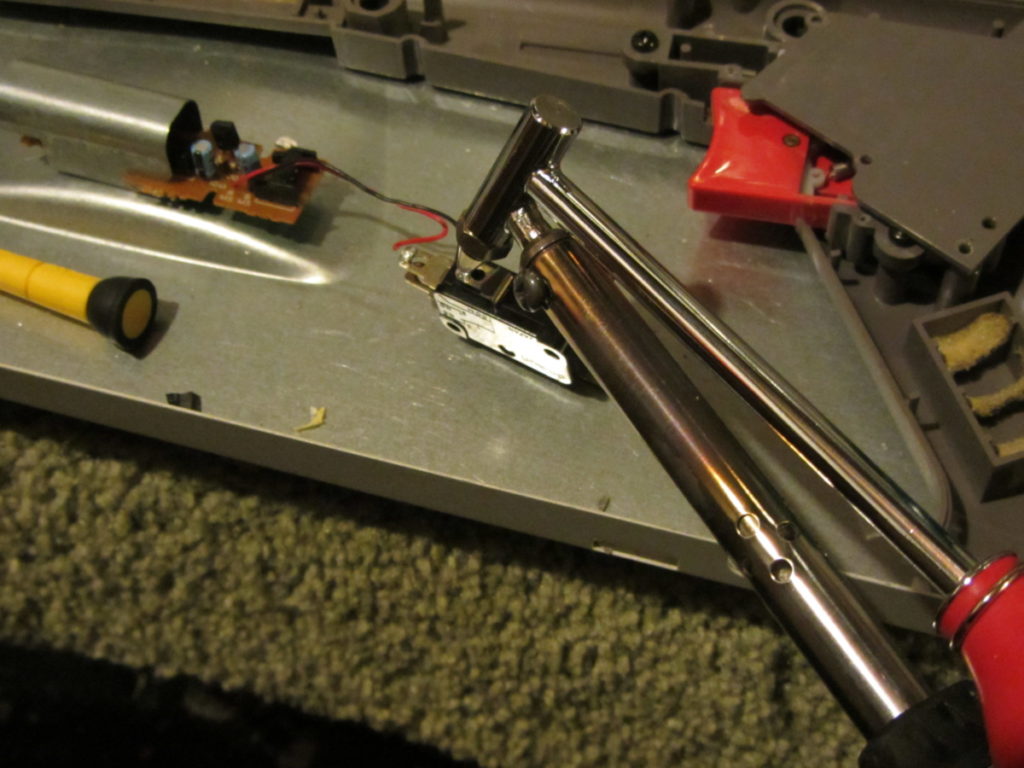
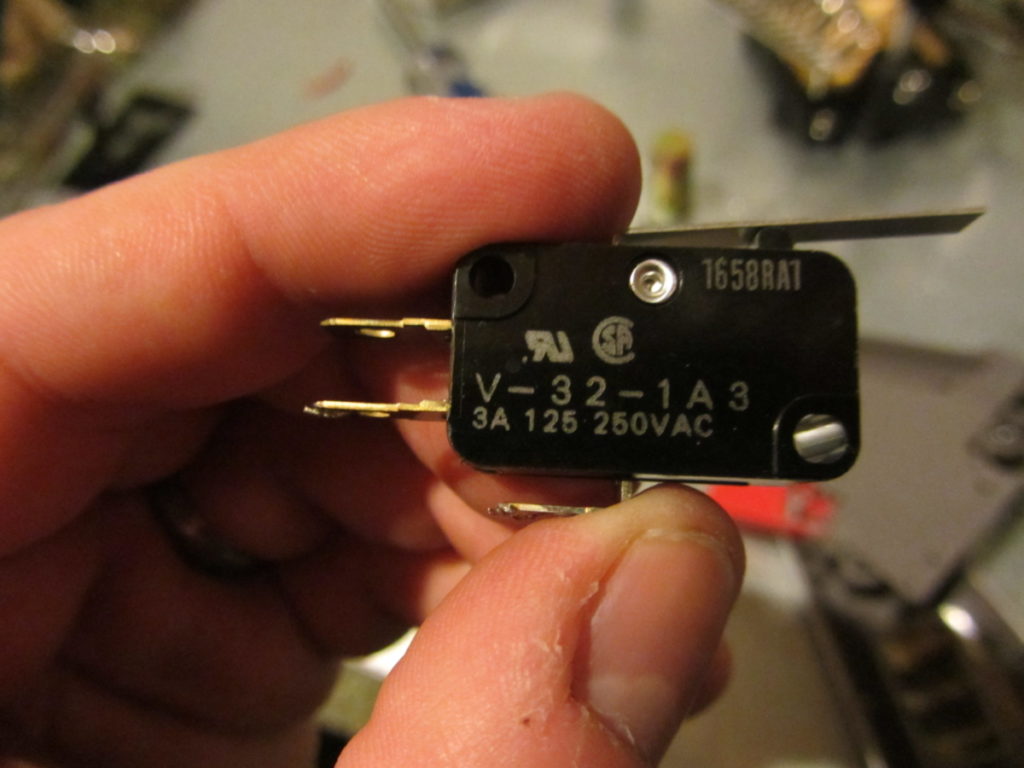
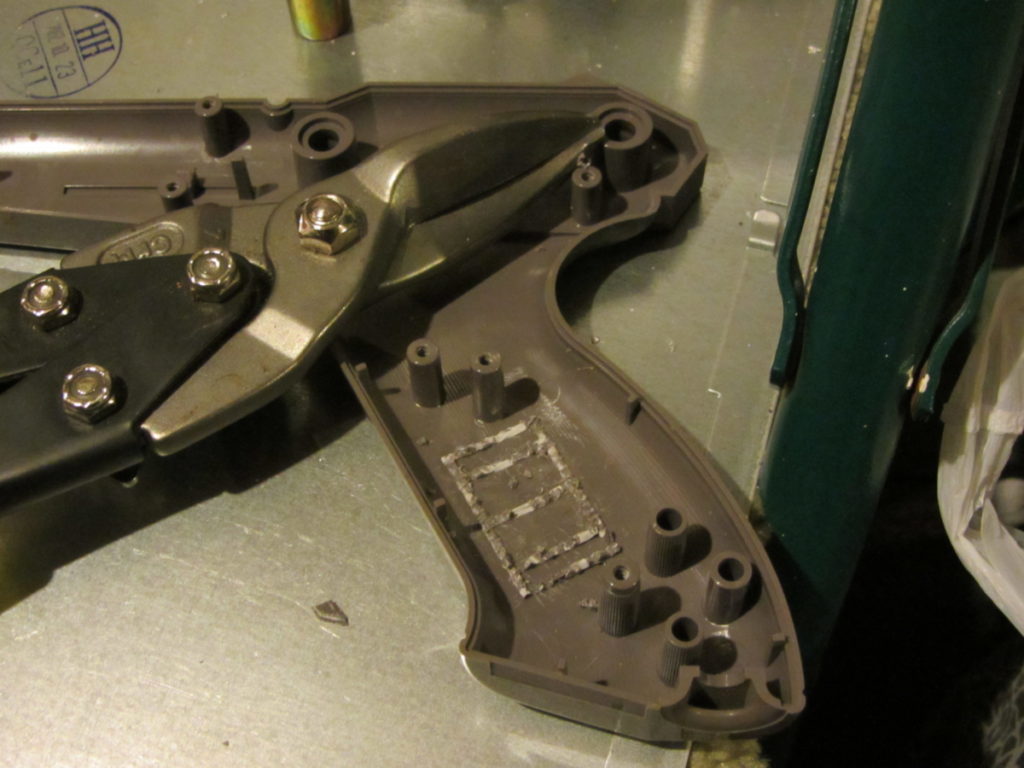
Let’s take a look at the switch.
Seriously, yes, 3A @ 125 250AC. Nice. We could run a few lasers through this thing. Thank you, Nintendo!
We’ll reassemble the switch case next.
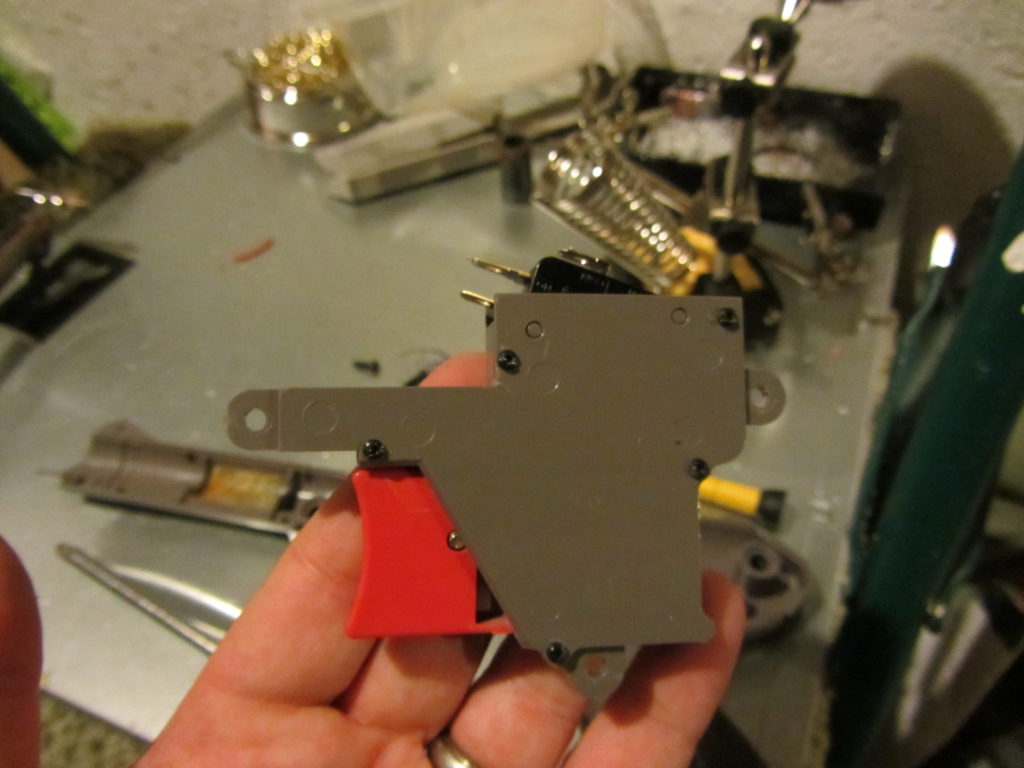
Put the switch aside in a safe place. We’re going to be gutting the gun next.
Step 4: Demolition and reusing the original Nintendo Zapper case
Now, you get to play demolition man (or woman)
Fire up some tunes.
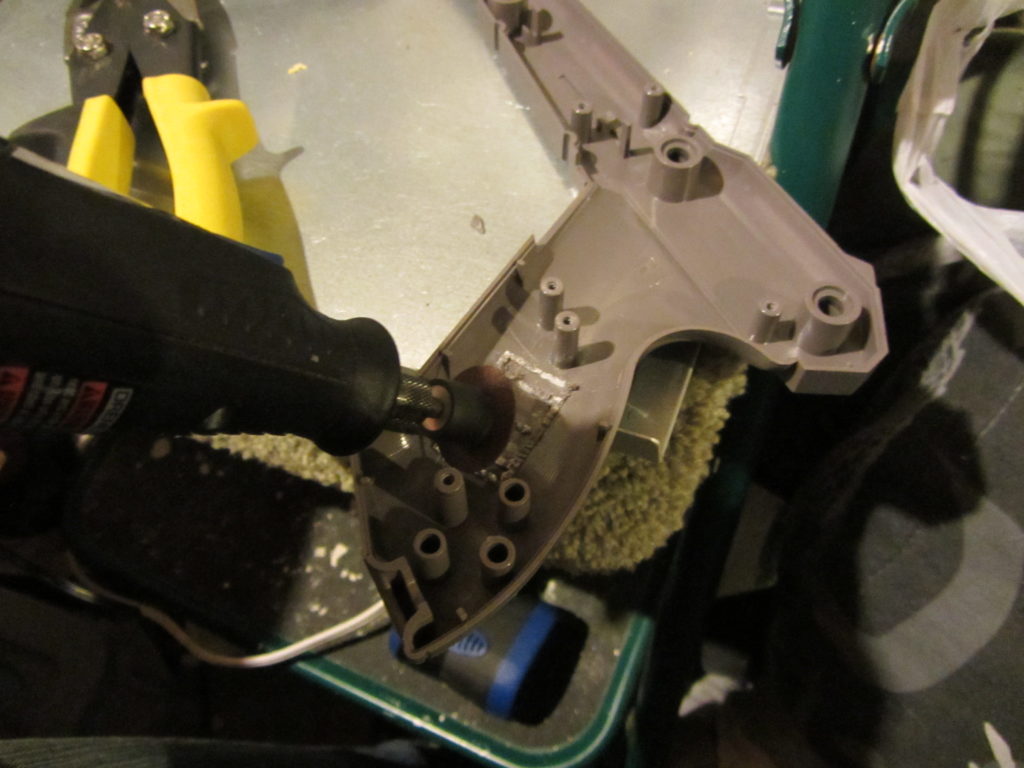
Make sure nothing remains in the Nintendo Zapper enclosure.
Grab a pair of tin snips or heavy-duty scissors and start clipping away on the area that held the weight in the handle.
Don’t worry about the weight – the weight of the original gun in the base of the Zapper gun will be replaced by batteries.
How much should you remove?
You’ll need to clear enough space for the batteries to sit comfortably. Once you snip enough out, you can use an old soldering iron or knife or razor or whatever to smooth it out. I used a Dremel. You could also just try and cut out the whole thing using a Dremel or similar tool.
Step 5: Solder power leads to Nintendo Zapper trigger switch
Grab two wires. You can make them two different colors if you want. They will be attached to the trigger switch we desoldered from in Step 3.
We are going to be running the wire from the switch to the power and laser driver.
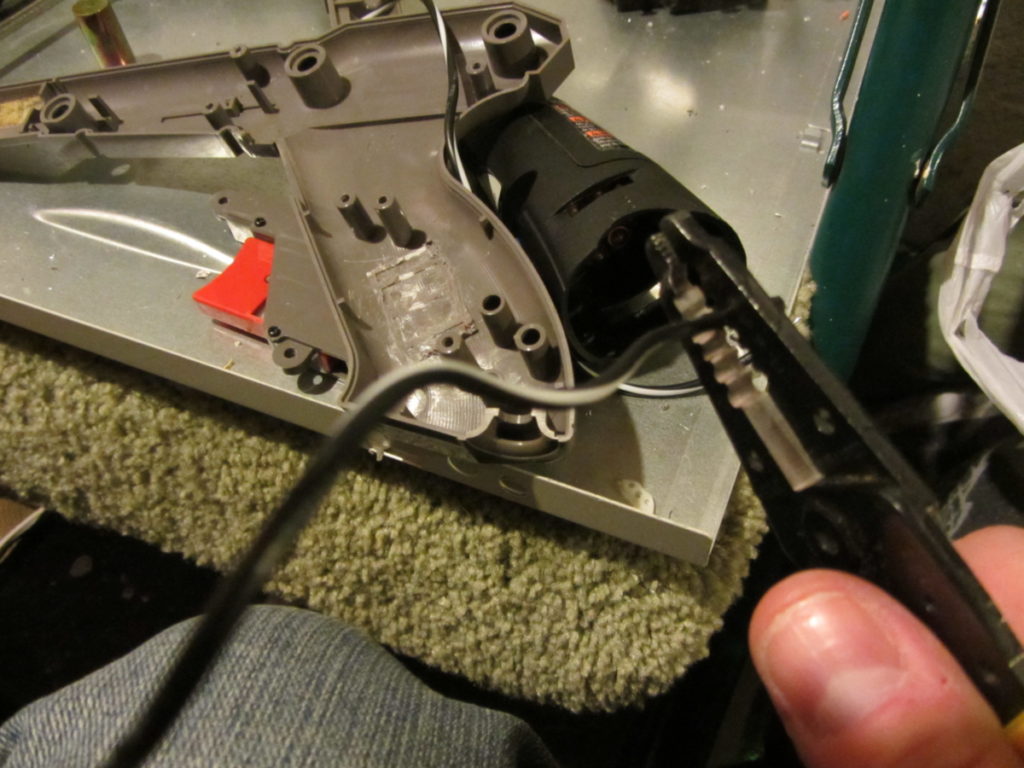
Remember, only pre-tin 1 side on each wire. The other end of the stripped wire should be left on its own.

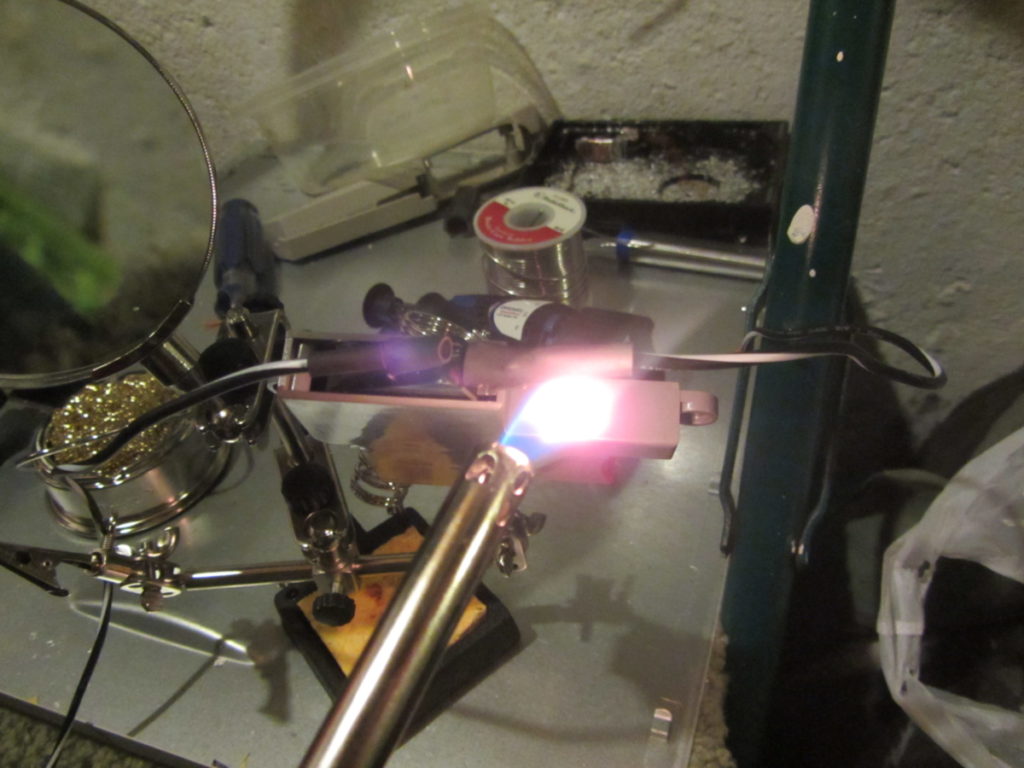
Slip some heat shrink tubing over the leads to cover the exposed switch. Use a heat source, like a grill lighter or long neck candle lighter, to shrink the tubing. Hey, it’s fire! And it looks really cool in this picture.
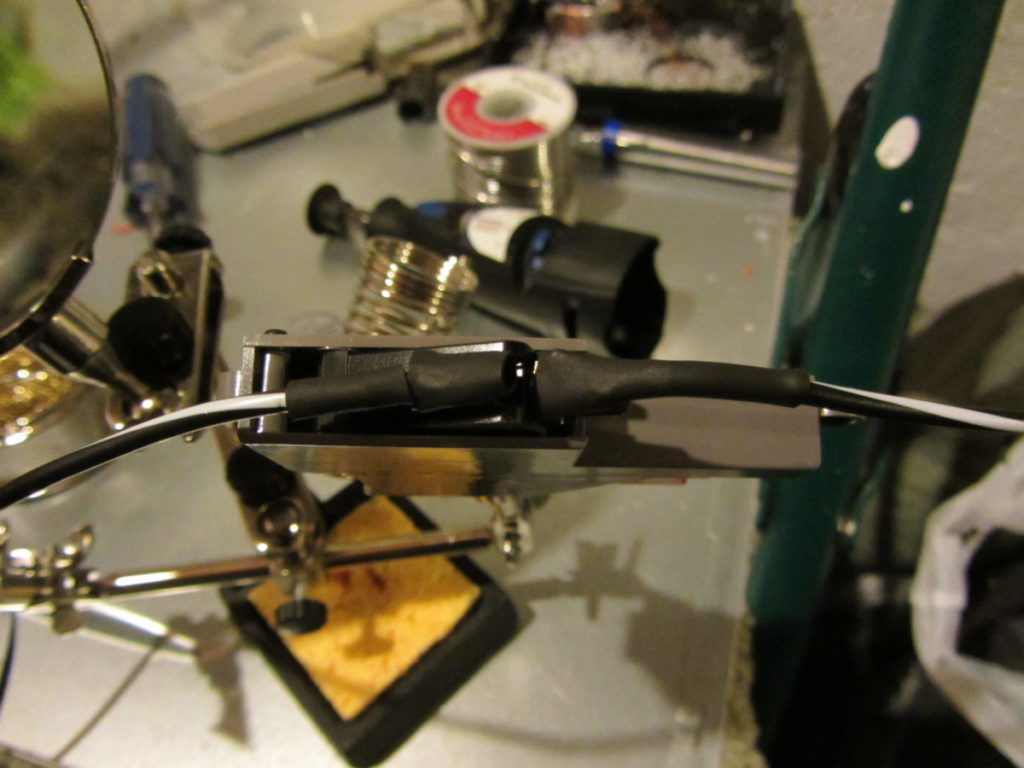
If you don’t have shrink wrap tubing or don’t have a size that will fit, you can also lightly wrap the leads in electrical tape. Don’t use regular or masking tape.
Here’s the completed trigger.
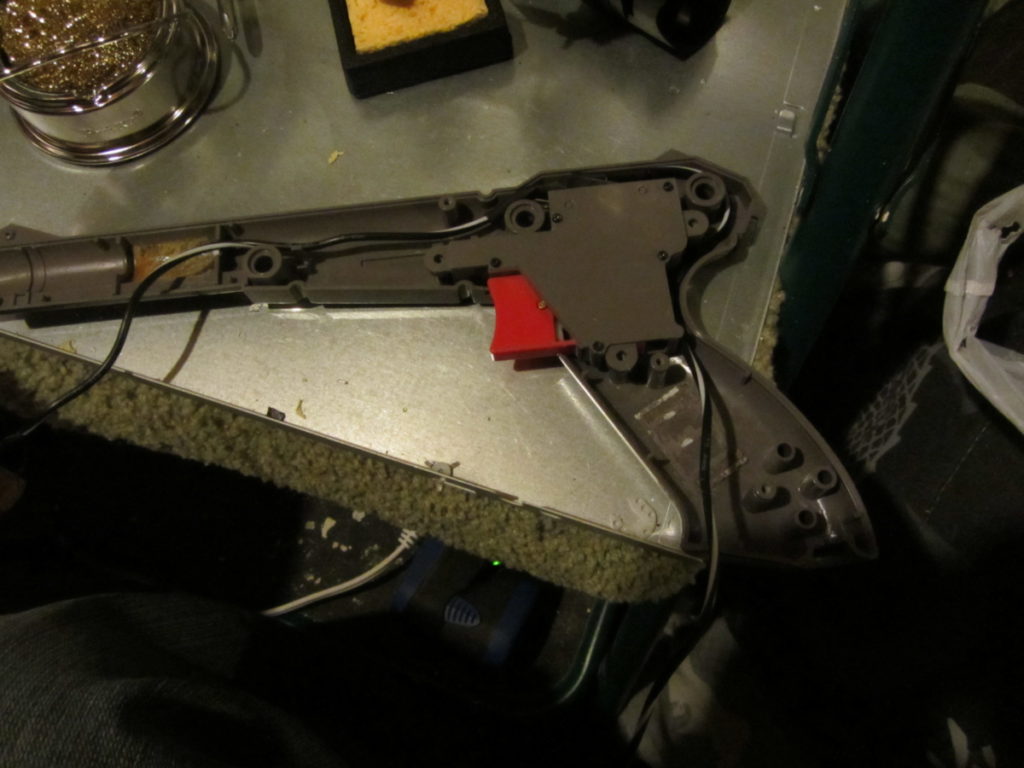
Run the wires as show in the picture above. Don’t block any of the screw holes.
What’s next for the Nintendo Zapper Laser Gun project?
That’s it for today! We made some serious progress transforming the gun from an ordinary Nintendo Zapper into a working Laser gun! In Part 3 we will place the batteries in the base, install the safety key switch, and wiring the two together! The Nintendo Zapper Laser Gun is coming together.