Now that we have 2 sensors built and collecting data (PIR Motion Sensor & Distance Sensor, both built on Raspberry Pi) we should start doing something with the data. In more of a real-world scenario, we would have some sort of a backend to collect this data, place it in a data warehouse and then be able perform analysis on the data being retrieved. Or at the very least, display the data in perhaps a dashboard of some kind.
But it all starts with data. Let’s start by building a RESTful API that we will use to collect the information from the sensors. We will build our API in NodeJS, on top of the Express middleware. We can either run this on a computer, like a desktop or laptop, or even on another Raspberry Pi!
When planning a tech talk with some folks on IoT development, we had to come up with several sensors to demo in order to feed a backend server module. An obvious choice was a PIR motion sensor, which is very straightforward and easy to build. Someone suggested a distance sensor, and having previously worked with a Sharp IR distance sensor (2Y0A02) on an Arduino it seemed like a perfect win.
So, we committed to building this sensor using the Raspberry Pi as our platform. As we started the development process, we discovered when looking at the datasheets for the Raspberry Pi and the Sharp sensor there was something we overlooked.
The Sharp IR sensor outputs an analog signal, whereas the Raspberry Pi GPIO pins are digital. So in order to build a Raspberry Pi Distance device we have to overcome this.
A PIR (Passive Infrared) Motion Sensor is one of the easier sensors to work with and is very straightforward to connect to a Raspberry Pi. The motion detector sensor itself has a sensitivity wheel that you can use to adjust motion sensitivity.
The IR sensor is typically encased in a “dome” which is actually has tiny “bubbles” that serve to scatter the beam to increase the motion detection range into a conical shape, rather than a simple straight-ish line.
For most applications and uses, this is definitely desired. If you think about a motion detector, you don’t want to detect motion in a narrow path – you typically want it to cover a wider area. The domes accomplish this purpose.
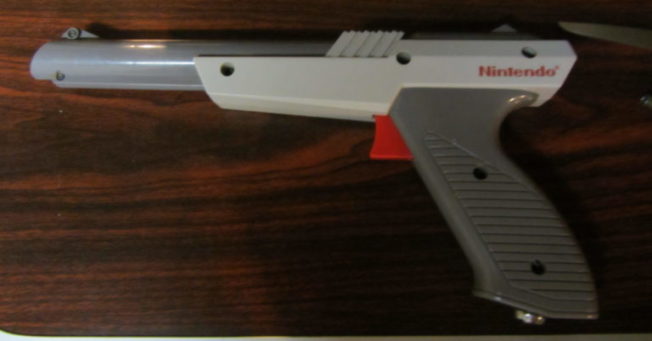
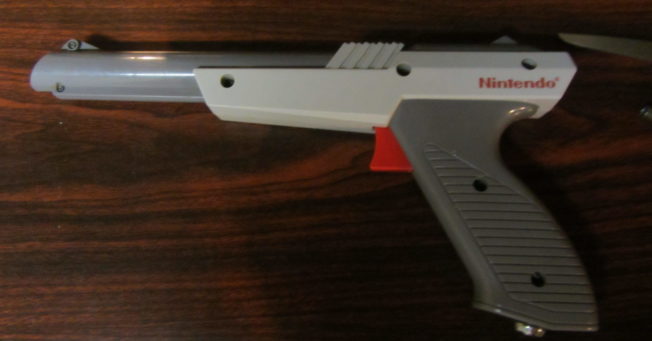
The finished product. So cool. A Real Nintendo Zapper Laser Gun.
How to Build a Real 100% working Laser Gun from a Nintendo Zapper, Part 4
Step 11: Connecting it all
DISCLAIMER: This is a dangerous project intended for mature audiences and for informational purposes only. Intentional misuse can result in bodily harm or injury to yourself or others, including animals. The author of this post and this site assumes no liability for your actions.
Welcome back! This is it – the final day of construction.
It’s time to finish our creation, and finally test the Nintendo Zapper Laser Gun.
We’re getting close to the point of needing this sign. Are you excited? I am.
How to Build a Real 100% working Laser Gun from a Nintendo Zapper, Part 3
Step 6: (Optional) Upgrade your lab.
Last time, we just finished rebuilding the trigger mechanism and soldered wires to our switch.
I decided to upgrade my lab area. Because something this cool couldn’t (and shouldn’t) be contained to a stool and a computer case side.
I cleared out a section of my basement, bought a $5 light and setup shop on an old table. To complete the professional polished look, I added my old dell and a spare monitor.
This relic from the past is about to get VERY dangerous. But in a super cool way.
How to Build a Real 100% working Laser Gun from a Nintendo Zapper, Part 2
Step 3: Saving and recreating the Nintendo Zapper Trigger Mechanism
DISCLAIMER: This is a dangerous project intended for mature audiences and for informational purposes only. Intentional misuse can result in bodily harm or injury to yourself or others, including animals. The author of this post and this site assumes no liability for your actions.
When we left off, we were in the middle of disassembling our Nintendo Zapper. We removed the screws and got our workstation prepared for the creation of the weapon of mass destruction we are building (a Nintendo Zapper Laser Gun baby!)
Next, carefully remove the small screws that protect the trigger.
In a stroke of awesome foresight, the factory trigger is perfect for our laser. It will more than handle our power load AND gives us dual modes of operation – pulse and continuous use.
If you press the trigger about halfway, the switch remains closed – meaning we can get a steady stream of laser awesomeness.
If you press the trigger all the way, it shoots a single shot. A short laser burst.
How to Build a Real 100% working Laser Gun from a Nintendo Zapper, Part 1
Why should we do this?
There are two types of people who will read this. One group will say “Why?” and the other will say “Why not?”
If you find yourself asking “Why”, then chances are you won’t make it past this introduction. You will find no interest in these pages, other than repeating to yourself “why” over and over again.
Why would you do such a thing? Why did you do this? Why would you build a real 100% working Laser Gun from a Nintendo Zapper? Can’t you find something else to do? What a waste of time, effort, money…time…
Such people would look at the end result and say “You could blind yourself, or hurt yourself, or get killed, or kill someone…”
On the other hand, those like me who say “why not” – well, we know better. We know better than to try and argue with the first group. Because if you ask “why”, you will never know the answer to “why not”.
Let’s face it. Yes, you could get blinded, killed, hurt, or hurt others with this. However, you could get killed, hurt or blinded today in a wider variety of unrelated and separate instances, like walking the dog, crossing the street, going to work, making dinner, opening a can of Spaghetti-o’s, or getting it on tonight (if you’re luckier than I).