How to Build a Real 100% working Laser Gun from a Nintendo Zapper, Part 3
Step 6: (Optional) Upgrade your lab.
Last time, we just finished rebuilding the trigger mechanism and soldered wires to our switch.
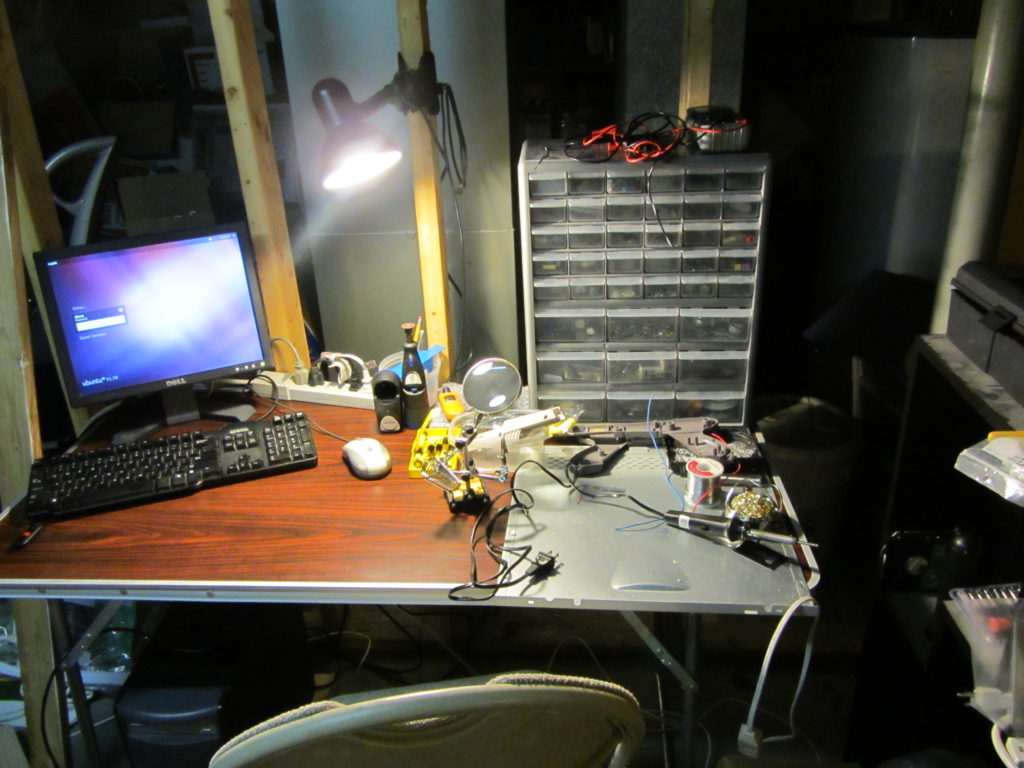
I decided to upgrade my lab area. Because something this cool couldn’t (and shouldn’t) be contained to a stool and a computer case side.
I cleared out a section of my basement, bought a $5 light and setup shop on an old table. To complete the professional polished look, I added my old dell and a spare monitor.
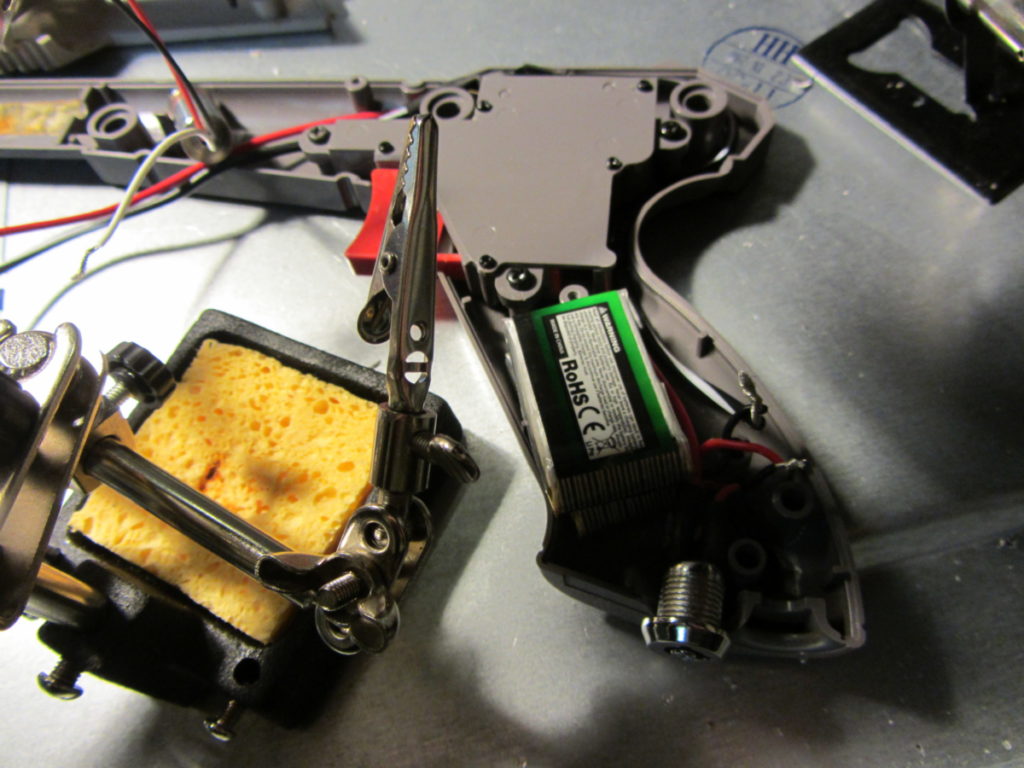
Step 7: Mount the batteries
DISCLAIMER: This is a dangerous project intended for mature audiences and for informational purposes only. Intentional misuse can result in bodily harm or injury to yourself or others, including animals. The author of this post and this site assumes no liability for your actions.
More like “put the batteries in the gun only to find that you have to out more plastic and cut a bigger space, so all the damn thingies fit.” But that won’t make a good step title.
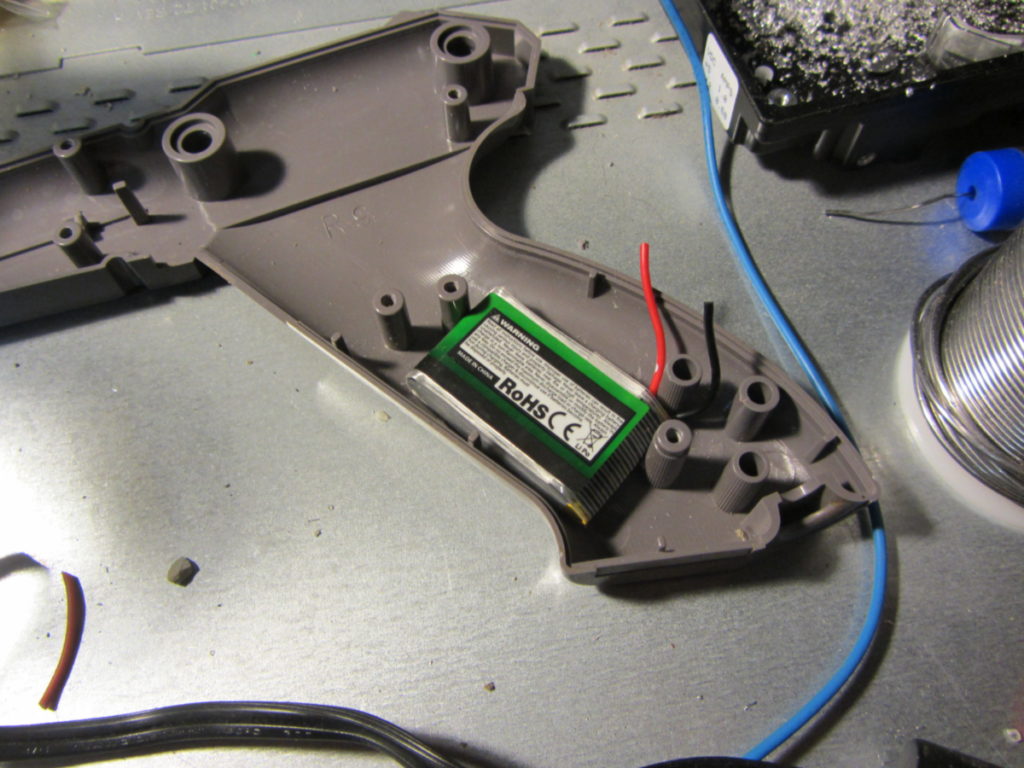
Depending on the batteries you decide on, you may need to cut more, or less. The important thing is to provide the driver and the diode with a steady stream of power. I used Lithium Polymer battery packs (LiPo) intended for RC places, copters, and cars.
I trimmed the leads from the Li-Po battery packs. (2 of them)
Once I put the first pack in there, I was very pleasantly surprised – it fit perfectly…
Until I put it on the other side…
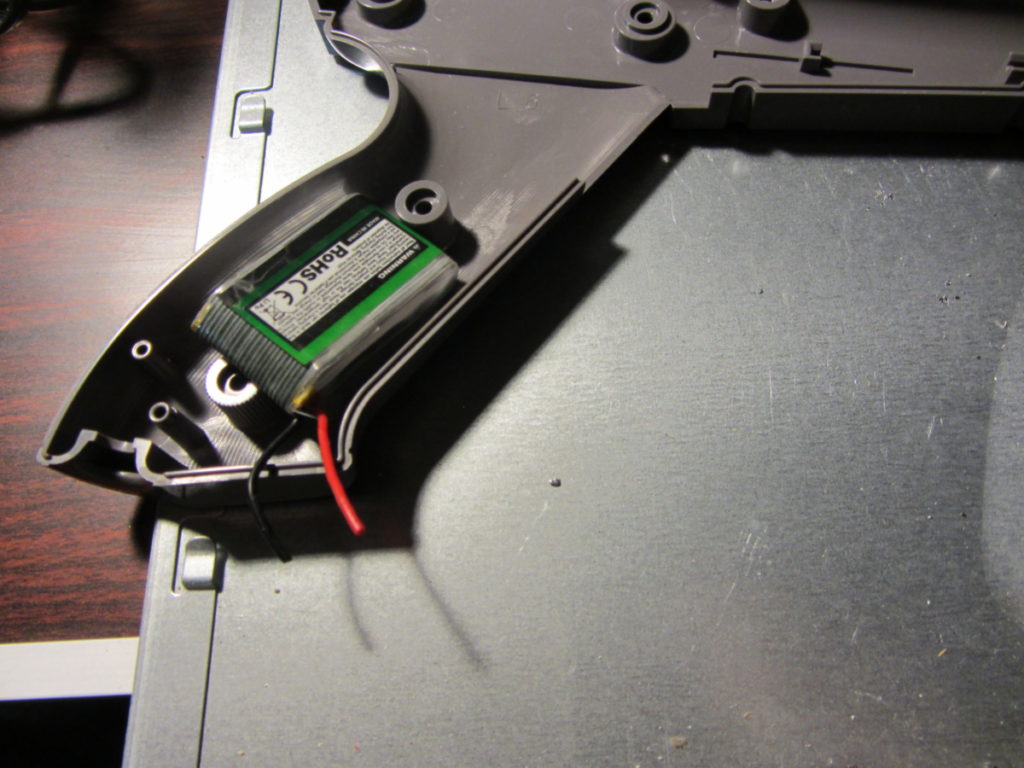
No big deal, I guess. Use the Dremel and snips and cut away whatever won’t fit.
Step 8: Prepare the safety key switch
Worth it for $3.
Prevents accidental firing.
Plus, it is kind of cool in a way to have to “unlock” your laser gun.
So, yeah, its recommended.
Pre-tin the connections as usual using the soldering iron.
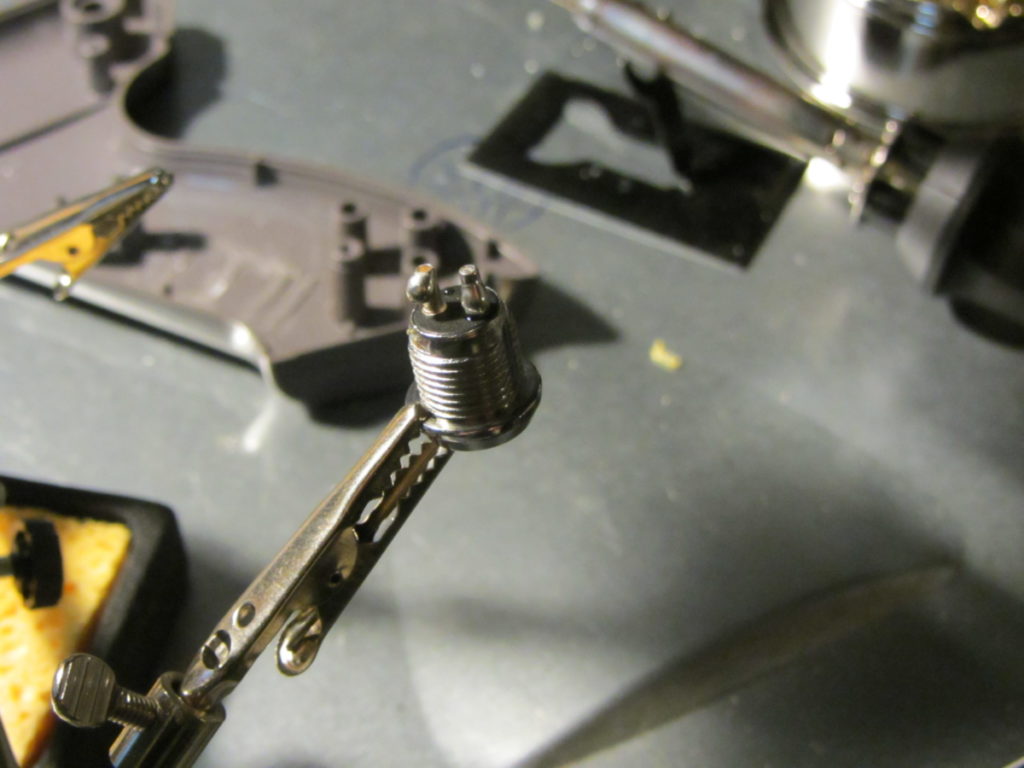
Next, use a Dremel or drill to chisel out a hole in the base of the handle to put the key switch.
Line it up, but don’t glue it or fasten it in place yet.
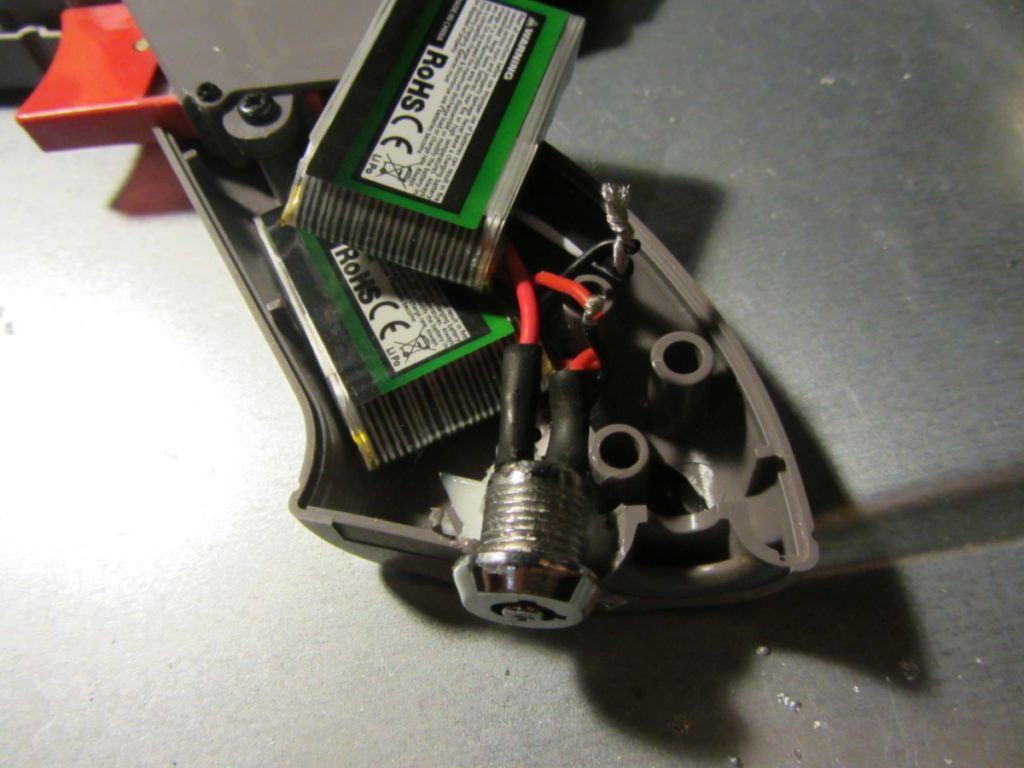
Step 9: Connect the batteries and key switch
Wire the batteries in series.
Connect the negative end of the series to the main power wire.
Connect the positive lead to the key switch.
Take another wire, run it under or around the trigger and into the barrel.
Solder the other end to the key switch.
Next we will glue the key switch and protect the leads with heat shrink tubing or electrical tape.
Step 10: Wire the laser driver
This is one of the more difficult parts. But it is essential if you want to build a real laser gun.
NOTE: Stronger laser guns, or extended use of this laser might require the use of a heat sink to prevent overheating or overloading the laser driver circuit.
It helps to have a magnifying glass handy. You will also need a very steady hand. The holes where you have to literally thread the leads for the power and laser diode on the board are incredibly small.
Before you connect the diode to the board, you might want to short the capacitors to drain any residual charge.
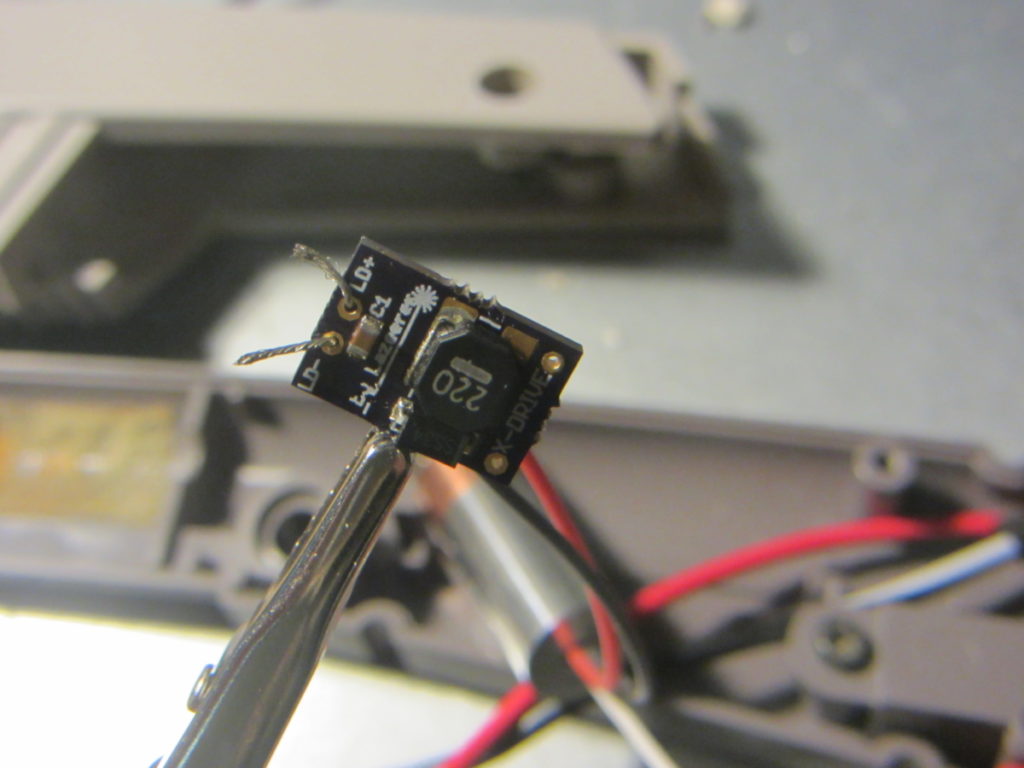
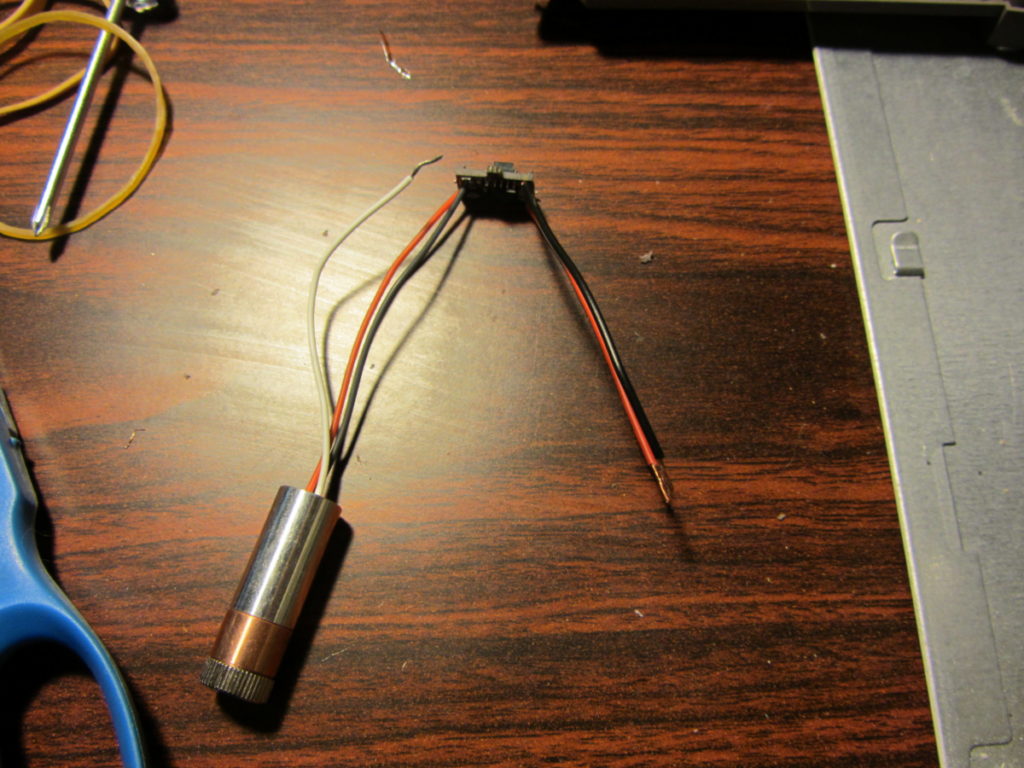
Twist and thread the red lead from the laser diode to the positive Laser Diode terminal, the black to negative.
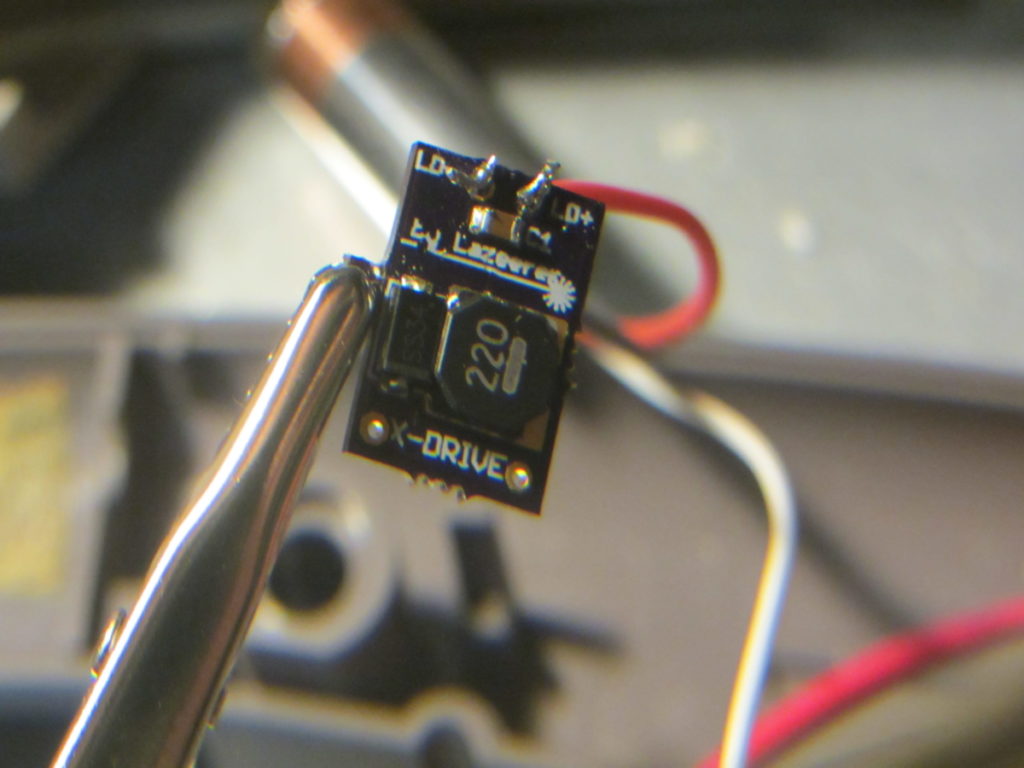
Now, you will need to repeat for the power leads.
You should have two of them, one coming from the trigger and the other from the key switch.
You can either work with the wires directly or use a more manageable length and cut later. That is what I did.
Again, just twist and solder, then trim.
Be careful not to accidentally short any connections.
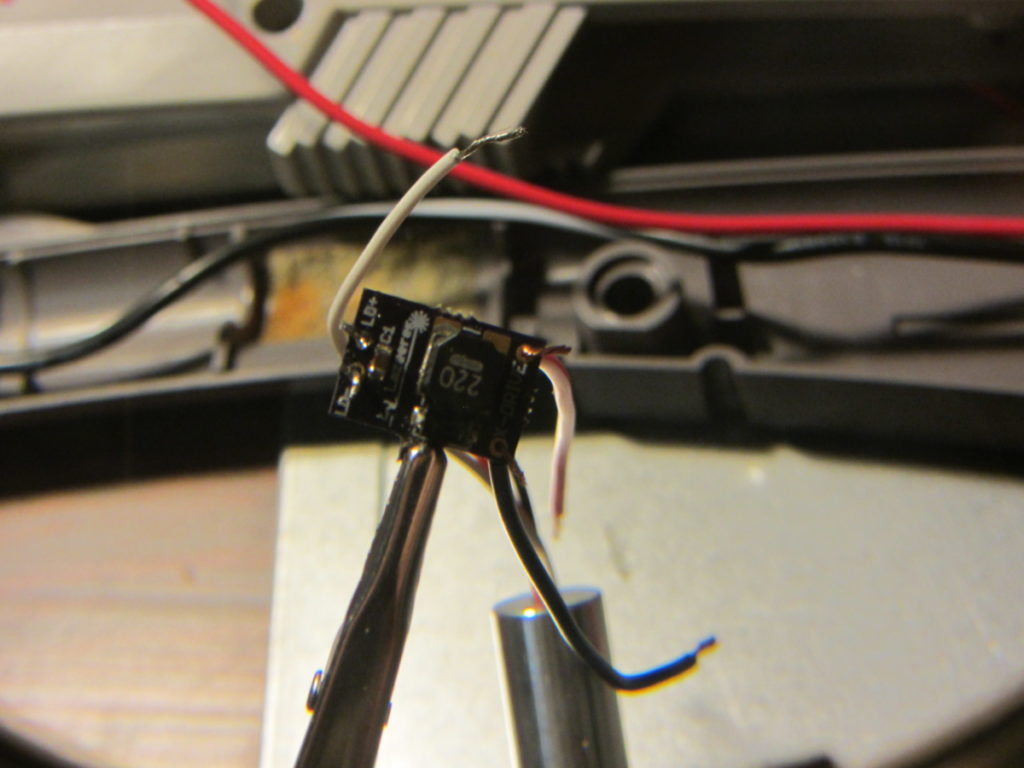
This is what the finished module should look like.
NOTE: If you have a white lead left over, put some electrical tape over it.
Next Steps for the “Build a Real Laser Gun” (Nintendo Zapper Edition) …
We’re in the home stretch! Today we wired the batteries, installed the key switch and wired the laser driver to the laser diode.
In the last part of this series, we will wire everything, install the lens, and reassemble the gun. It’s the exciting conclusion of our project – and we will finish the build of a real laser gun!