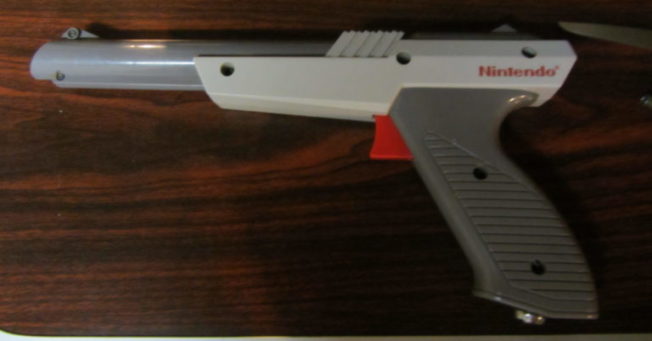
The finished product. So cool. A Real Nintendo Zapper Laser Gun.
How to Build a Real 100% working Laser Gun from a Nintendo Zapper, Part 4
Step 11: Connecting it all
DISCLAIMER: This is a dangerous project intended for mature audiences and for informational purposes only. Intentional misuse can result in bodily harm or injury to yourself or others, including animals. The author of this post and this site assumes no liability for your actions.
Welcome back! This is it – the final day of construction.
It’s time to finish our creation, and finally test the Nintendo Zapper Laser Gun.
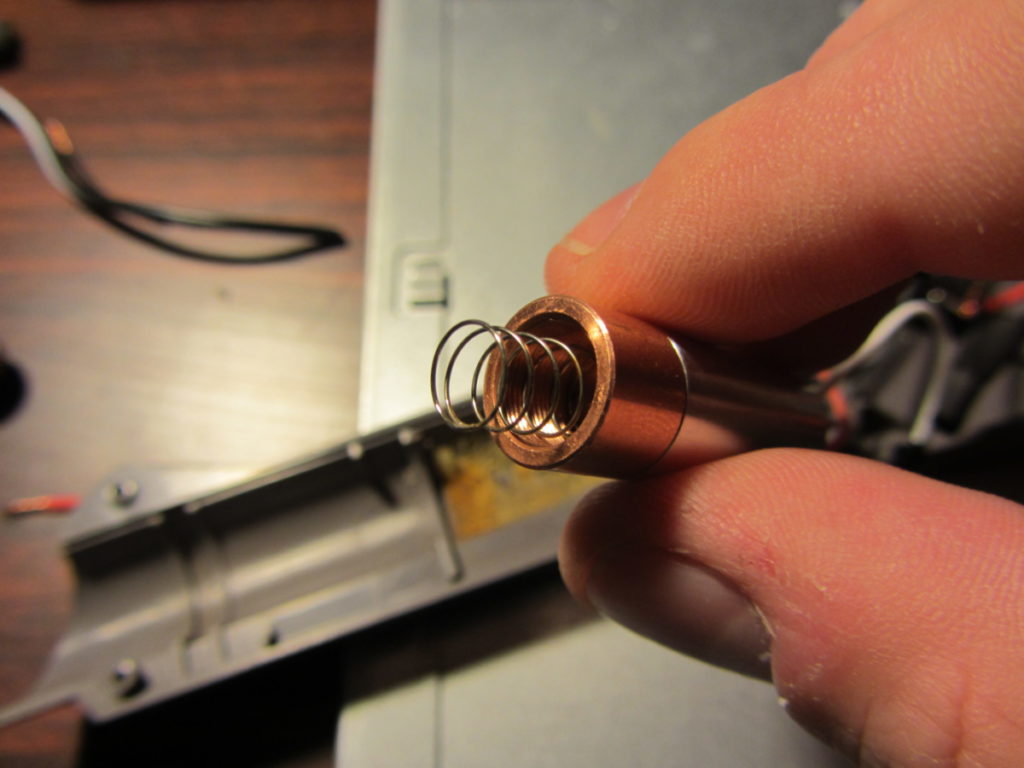
Place the diode in the barrel, position it over the last mini ring. You will probably find that you need to Dremel away or scour the ring slighly to get the diode to fit.
IMPORTANT! If you need to do any cutting, do so BEFORE you connect the driver and diode to the power source (which is now mounted inside the gun.) The static electricity from the cutting will probably kill the diode or driver. You don’t want that. Not after coming this far. If that doesn’t get it, the dust will.
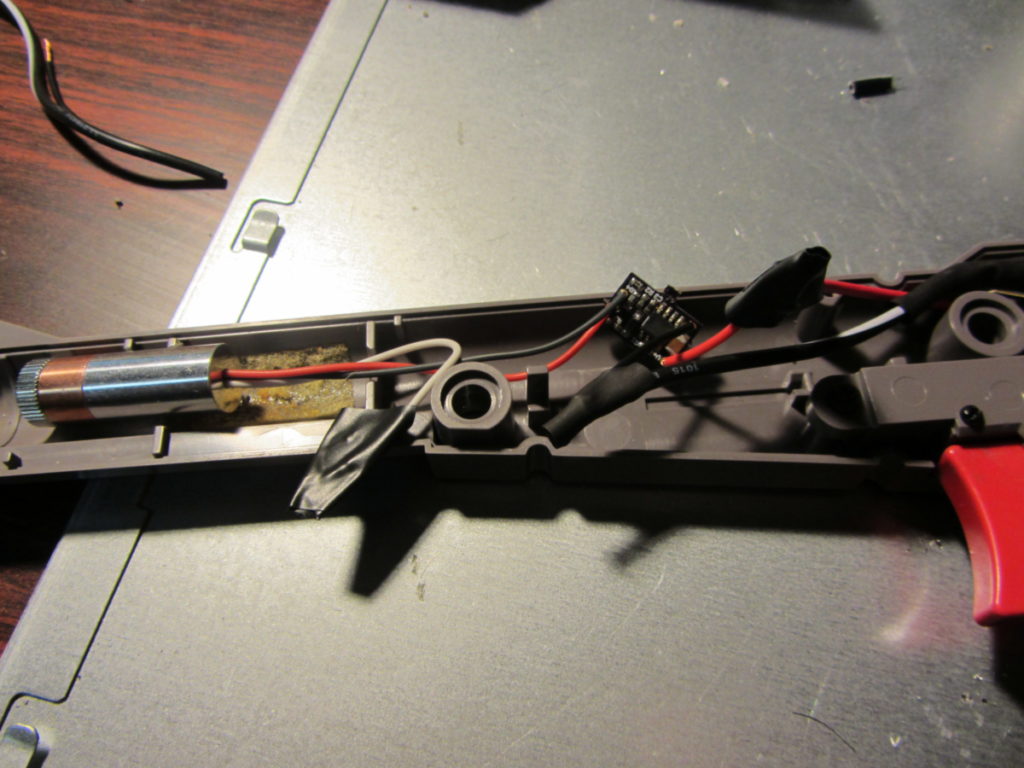
When you’re satisfied, wire everything together. Now is the time to trim wires so they fit neatly inside the gun. Solder the wires, then cover them with electrical tape or heat shrink tubing.
We could have gone direct to components and measured the wires as well. This is a first iteration! Note how much space we still have – extra room is always appreciated.
Step 12: Final Assembly
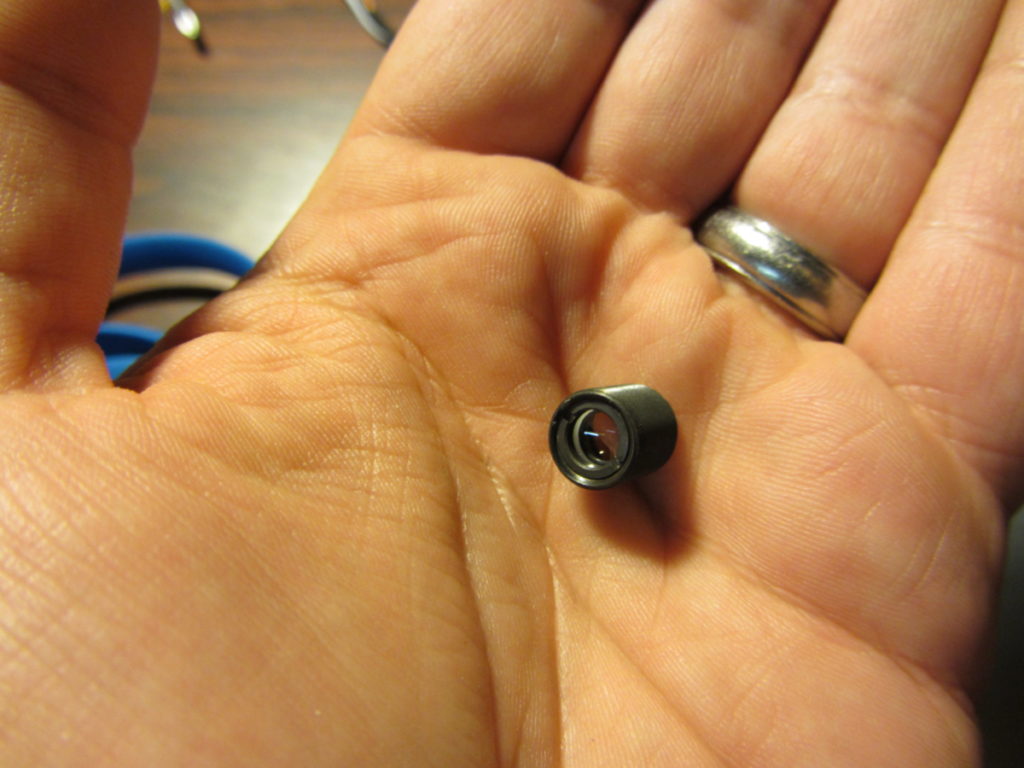
If the diode has a screw on acrylic lens, remove it. It was probably there to protect the diode, but now it is worthless. It will melt when you first fire the laser.
Get the proper lens out, and screw it into the aperture of the diode.
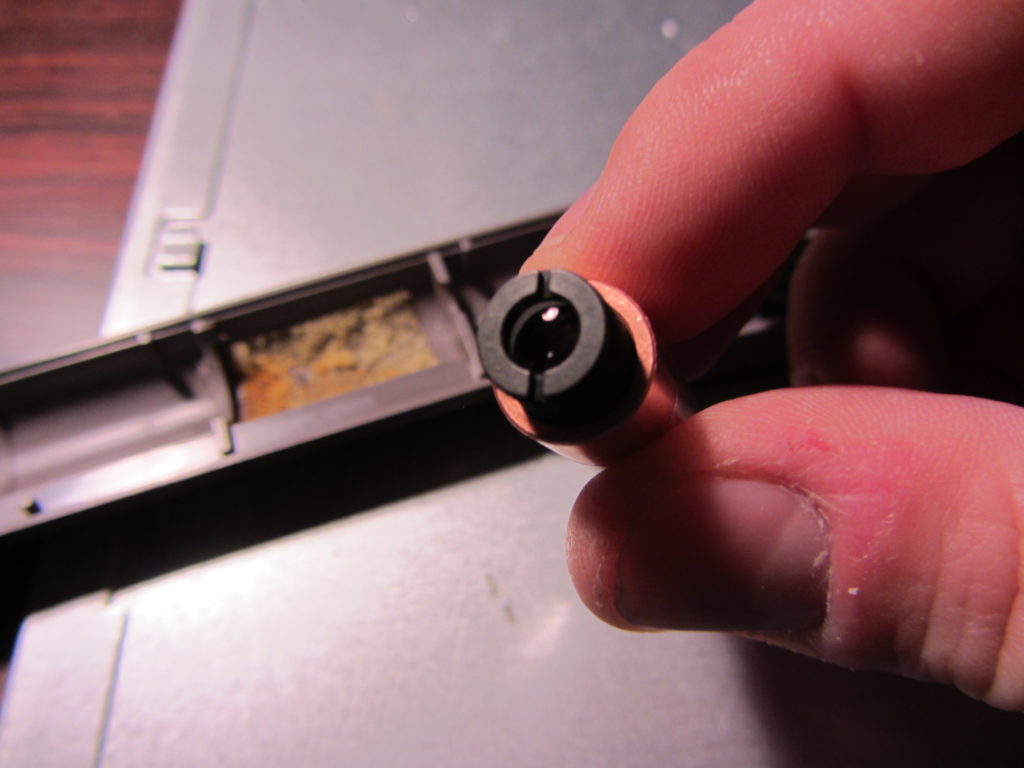
You’ll have to play with the lens to get the focal point you want. You can do that after we’re done.
Leave the end with the larger screwdriver handles facing out, this way you won’t have to take it apart again to adjust it.
Brilliant!
Finally, put some rubber bands or rubber O-rings or gaskets to make the diode fit snug around the rings.
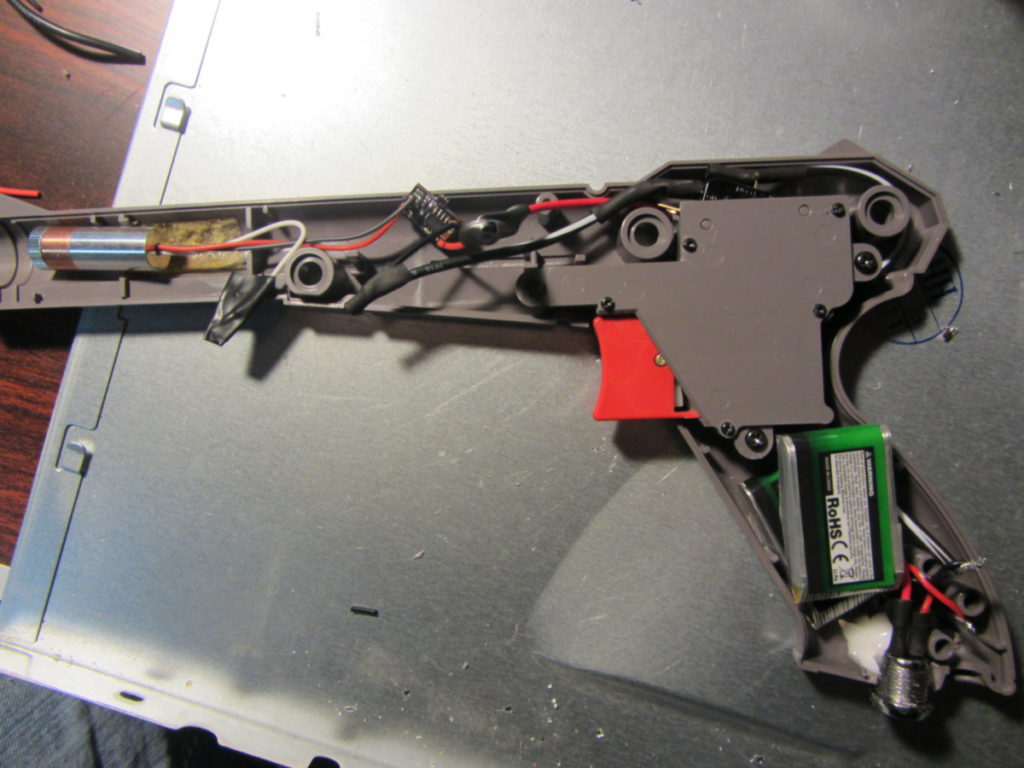
Route all the wires out of harm’s way, making sure none are pinched by the case or screws.
Replace all the screws.
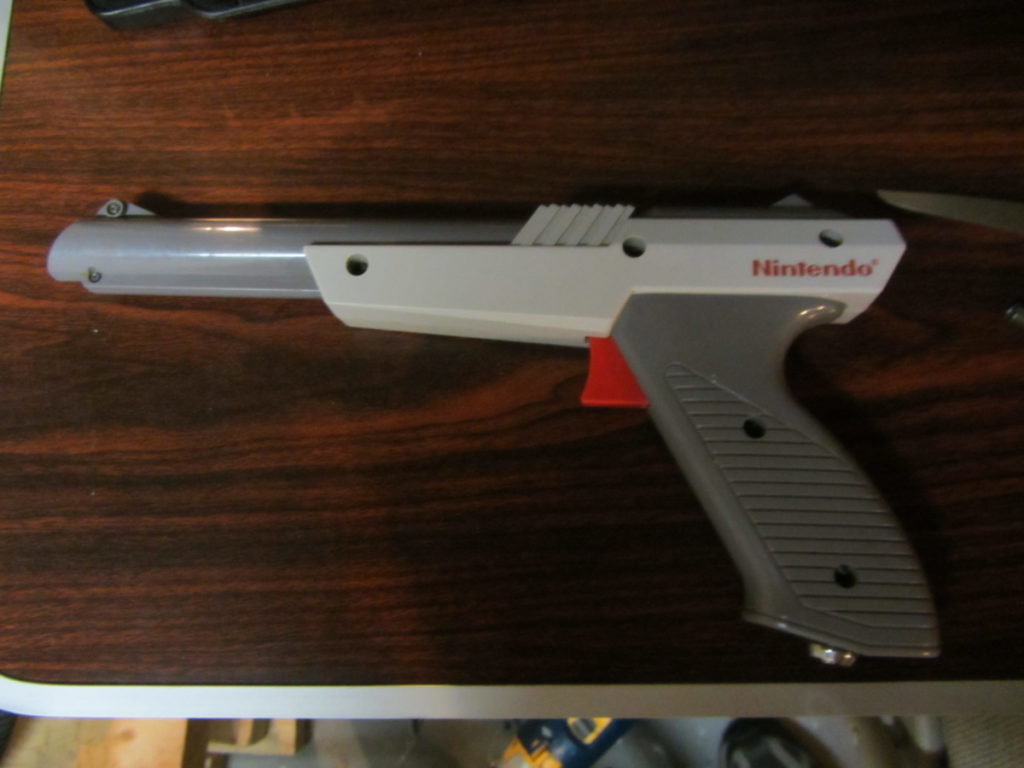
Damn. Still looks so cool and sexy.
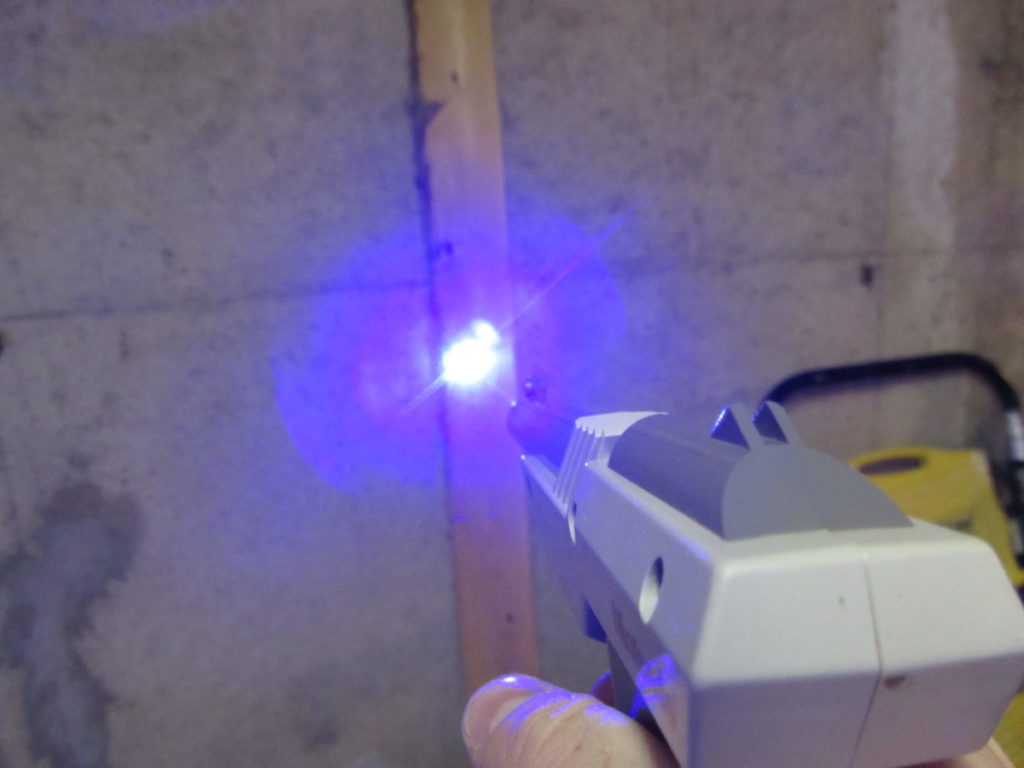
Step 13: The moment of truth – testing the Nintendo Zapper Laser Gun
!! PUT ON YOUR LASER GLASSES NOW !!
Make sure no one else is in the room (unless they have their own laser goggles)
Turn the key switch.
Press the trigger.

“And now I have become death, the destroyer of worlds”
-Hindu Text
More views:

As I stated, you will have to play with the lens to get the focal point you want at the distance you would like. As the focal point changes, the beam width will change also. Carefully put your screwdriver into the aperture and turn a little at a time until you get the tight beam at the distance you want.
Next Steps
You might have noticed something about the batteries…How the hell do you charge them?
Since we connected two LiPo cells in series, we can use a 2s balancing plug to balance charge both of them.
The plug will come with three leads – a yellow, black and red one. Connect the yellow to the negative battery lead that is going to the trigger, the black to the connection where the batteries are connected in series, and the red to the red lead of the second battery at the keyswitch.
Let the charge cord / plug hang out the bottom through the hole where the original Nintendo cord was.
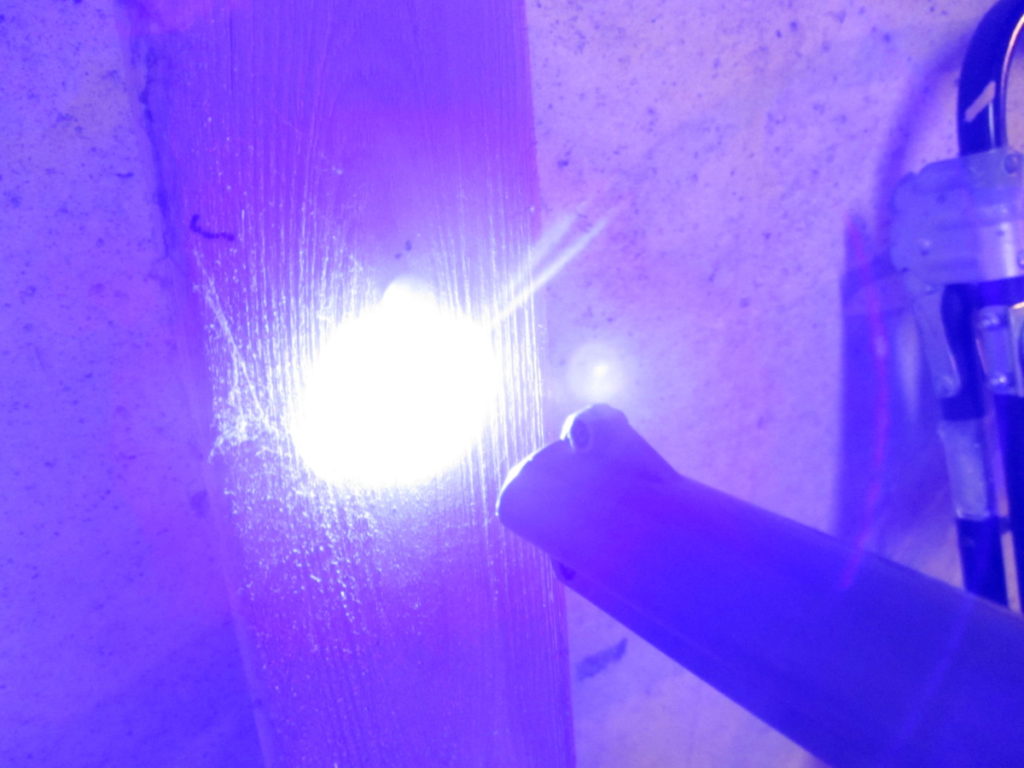
Oh yeah, when targeting something to shoot at, stay away from lighter colored objects, even white paper. Most of the energy is actually reflected back rather than being absorbed, so nothing actually happens.
It does cut through dark paper and lights matches like you wouldn’t believe though.
And of course, wood, it burns wood.
Future Enhancement List for our Nintendo Zapper Laser Gun
Of course, being a somewhat agile project, we now have more than a workable MVP (Minimum Viable Product).
Here’s a small backlog of improvements I am thinking about making in the future.
- 3D Print some of the parts instead
- Upgrade the laser
- Put a heatsink on the driver
- Possibly add exhaust vents to prevent heat buildup
- Custom carrying case or holster!
- Improving the charging
- Add a charging port to the bottom of the gun to replace the wires
- Build a charging station that will make use of the charging port!